Module 1.1
Anterior Transverse: Biceps Tendon
In this section, we will use ultrasound to explore the path of the long head of the biceps tendon from intraarticular attachment to myotendinous junction. Structures visualized will include the humerus and its bony features, the biceps long head tendon, the deltoid muscle, the transverse humeral ligament, joint cartilage, and the myotendinous junction of biceps short and long head.
Patient starting position:
The patient’s arm should be relaxed and in neutral position.
Note: this examination is demonstrated on the left shoulder, with the ultrasound probe indicator facing medially to begin. The left side of the ultrasound image corresponds to the side of the ultrasound probe with the orange orientation marker.
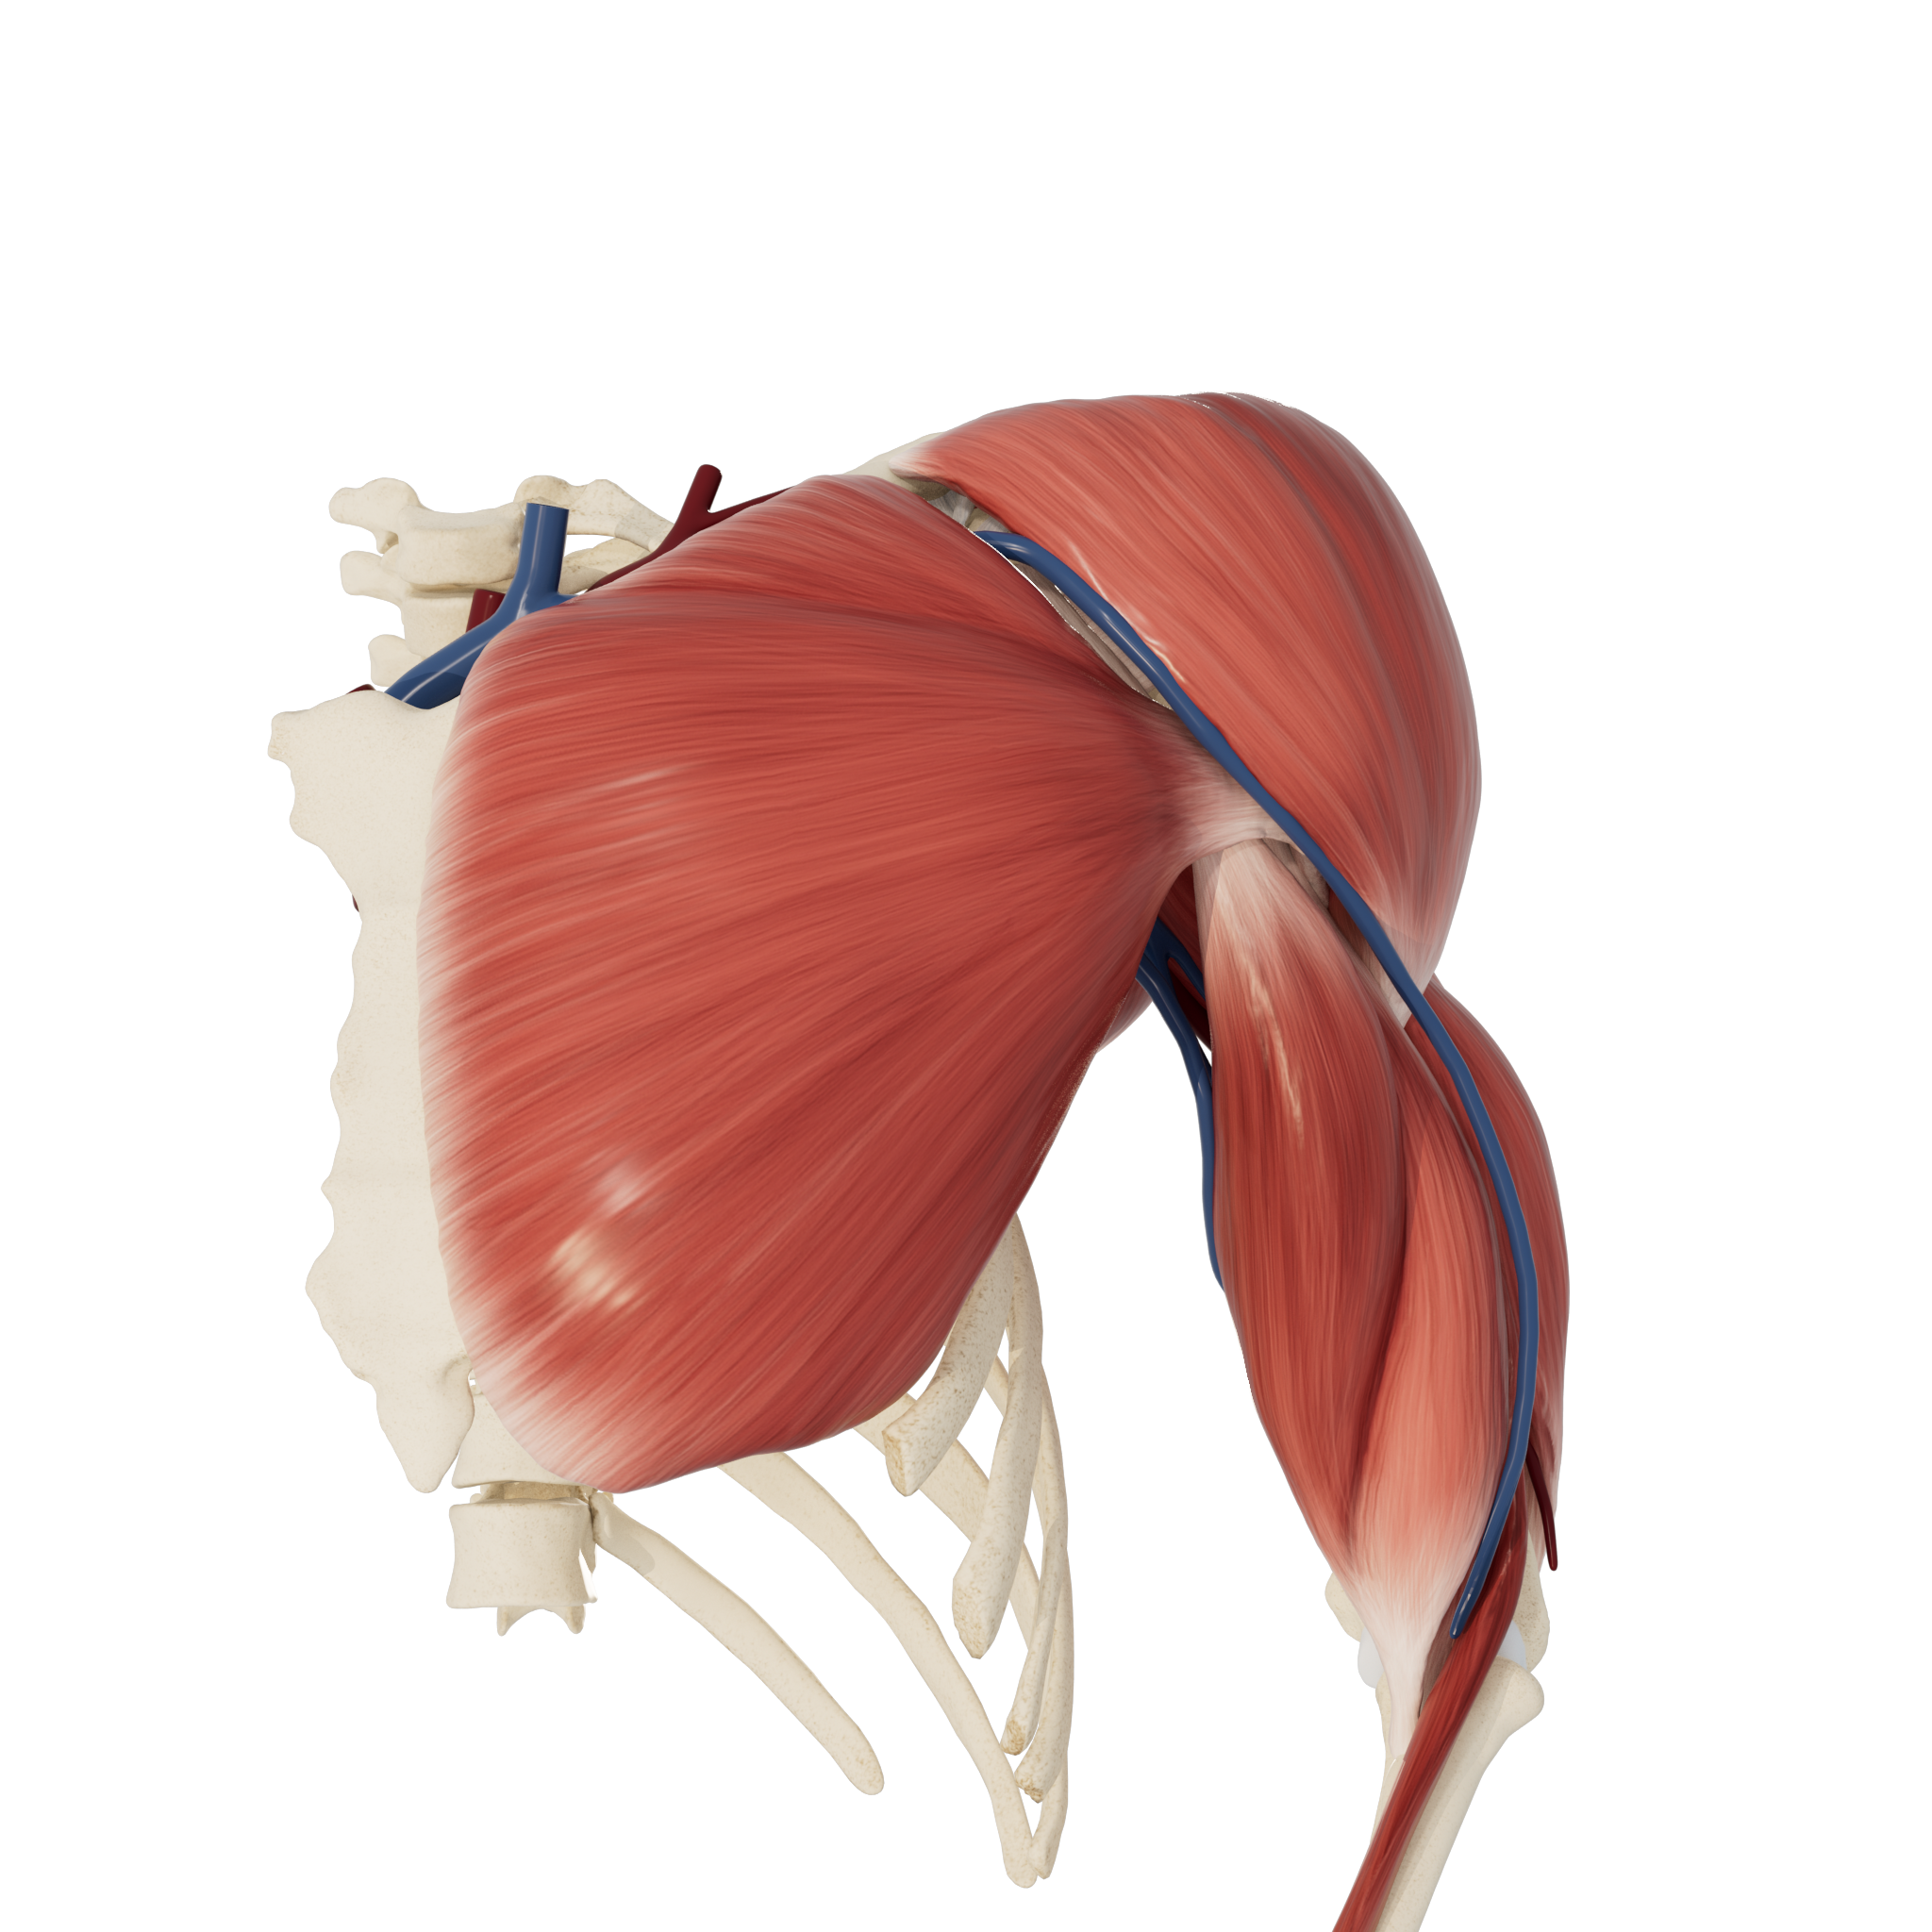
Patient starting position
STEP 1 Biceps Tendon in Bicipital Groove: Short Axis
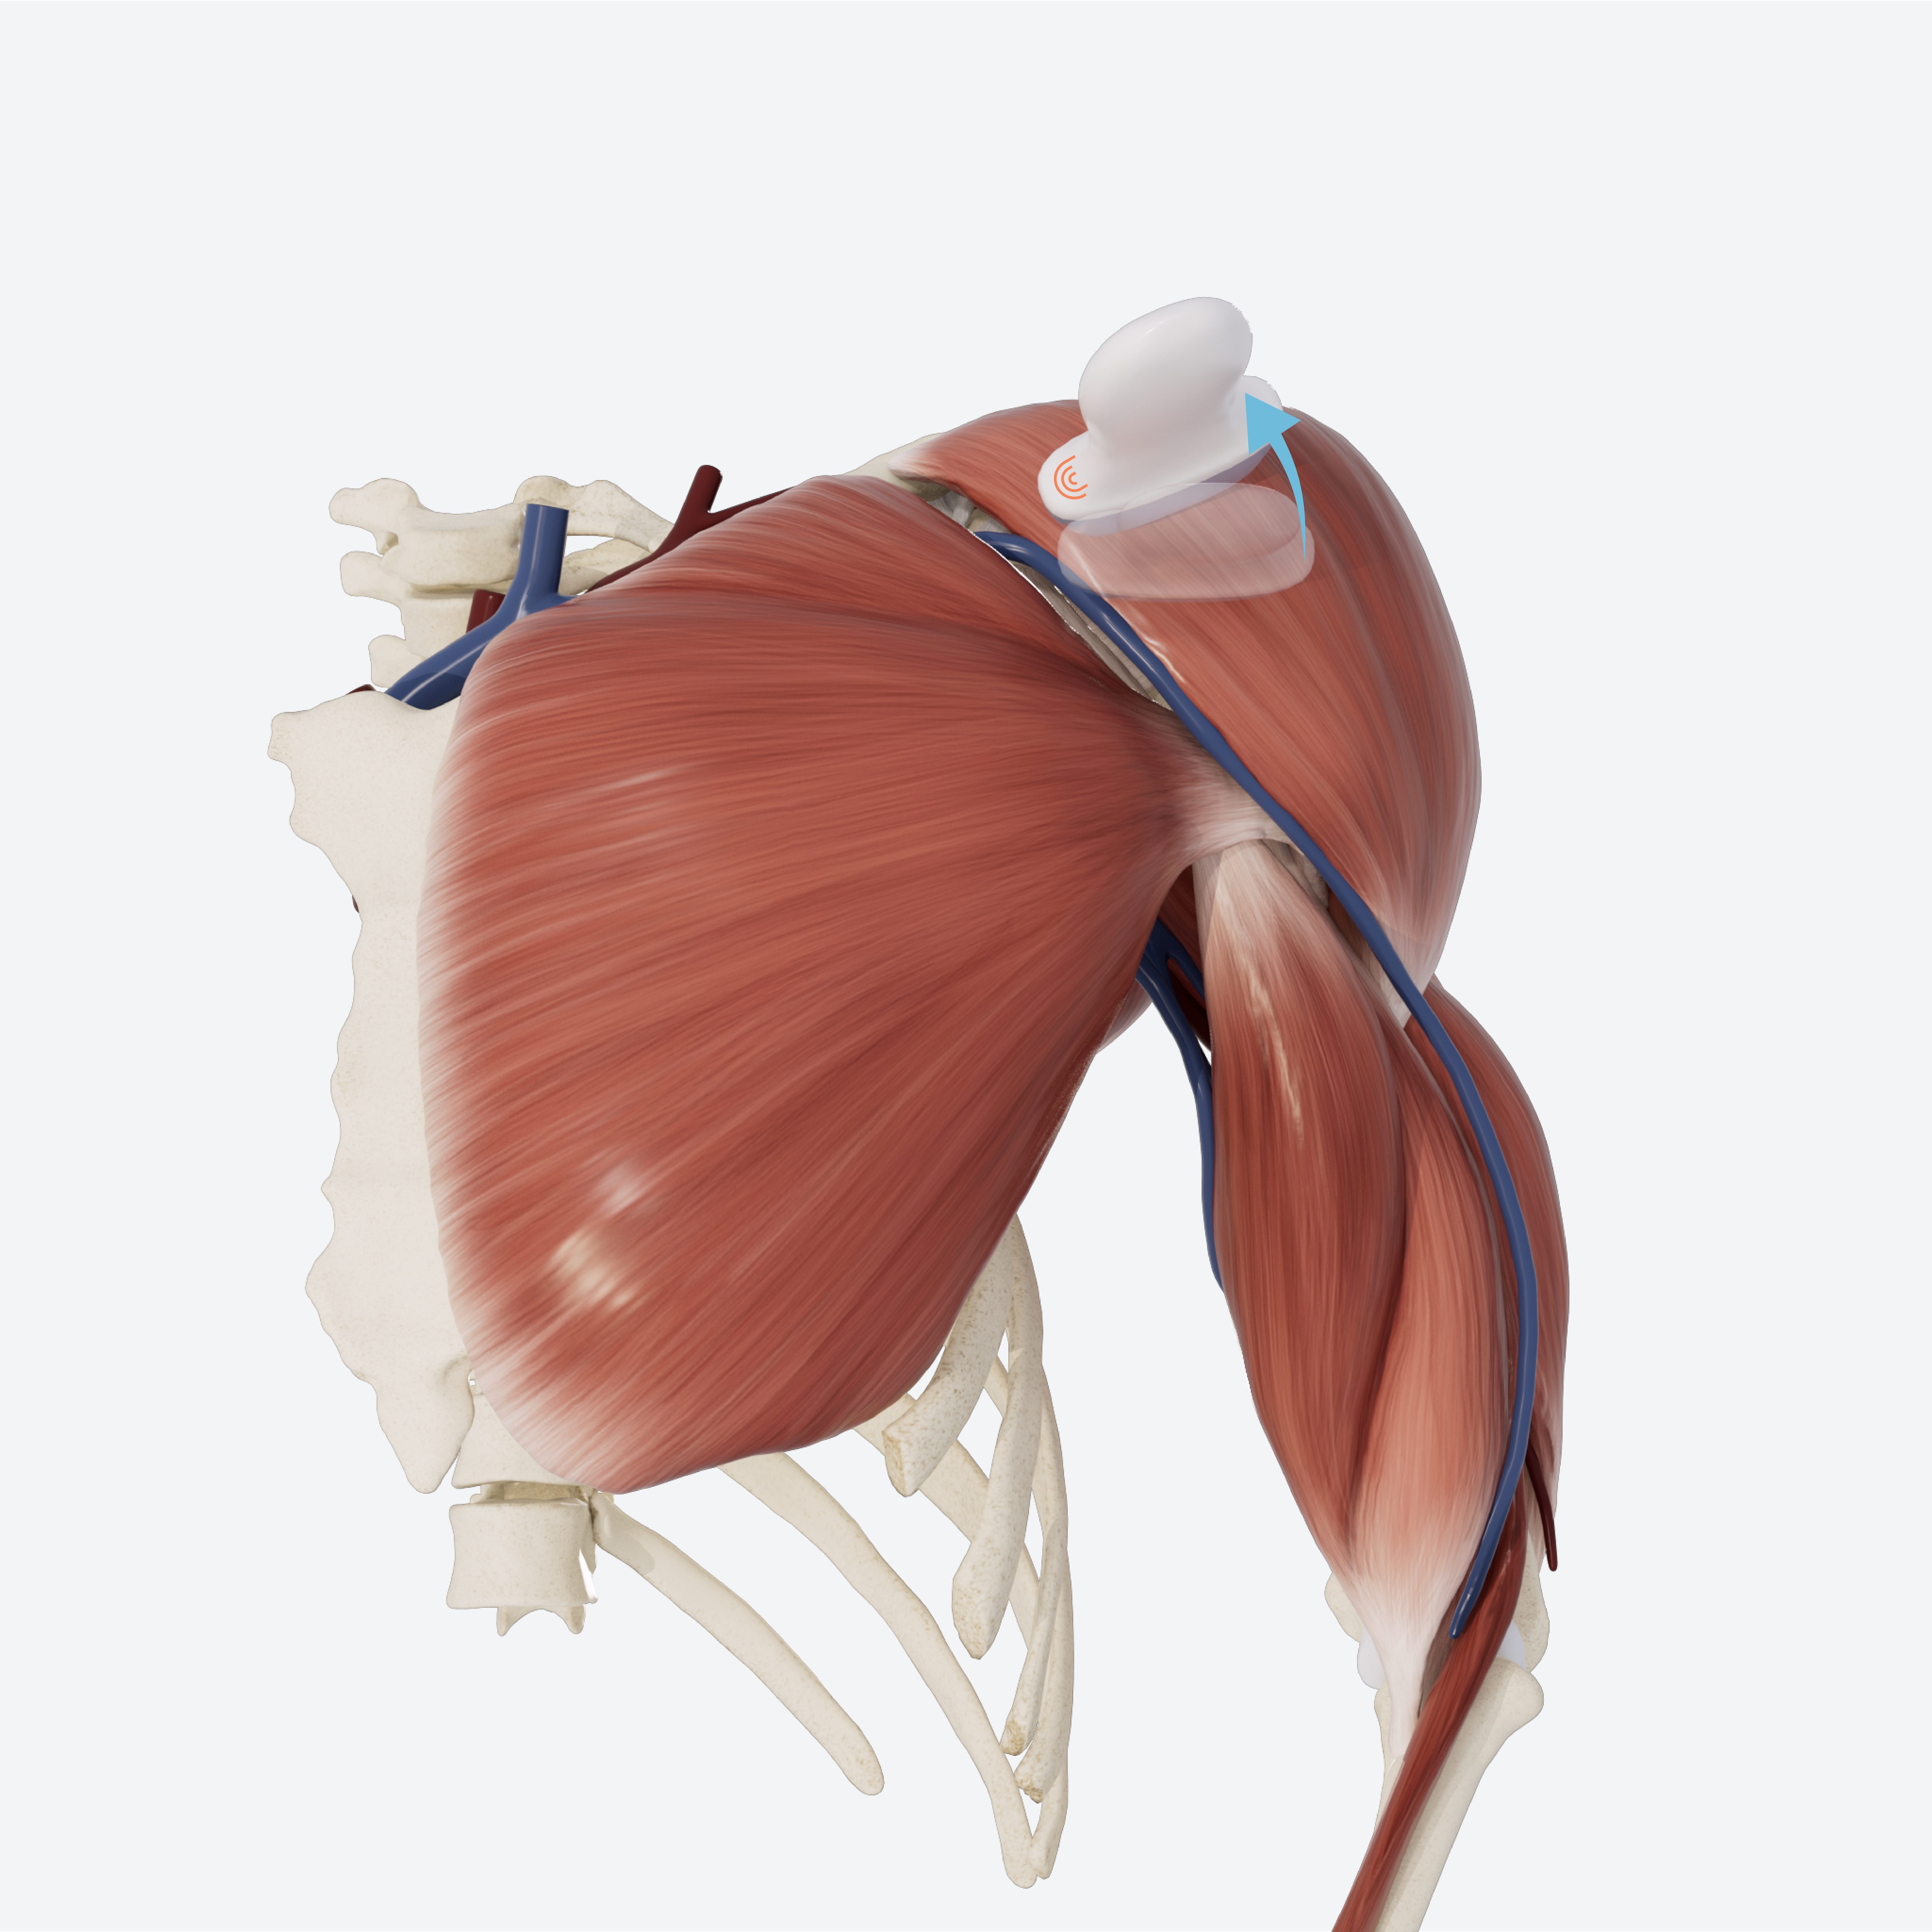
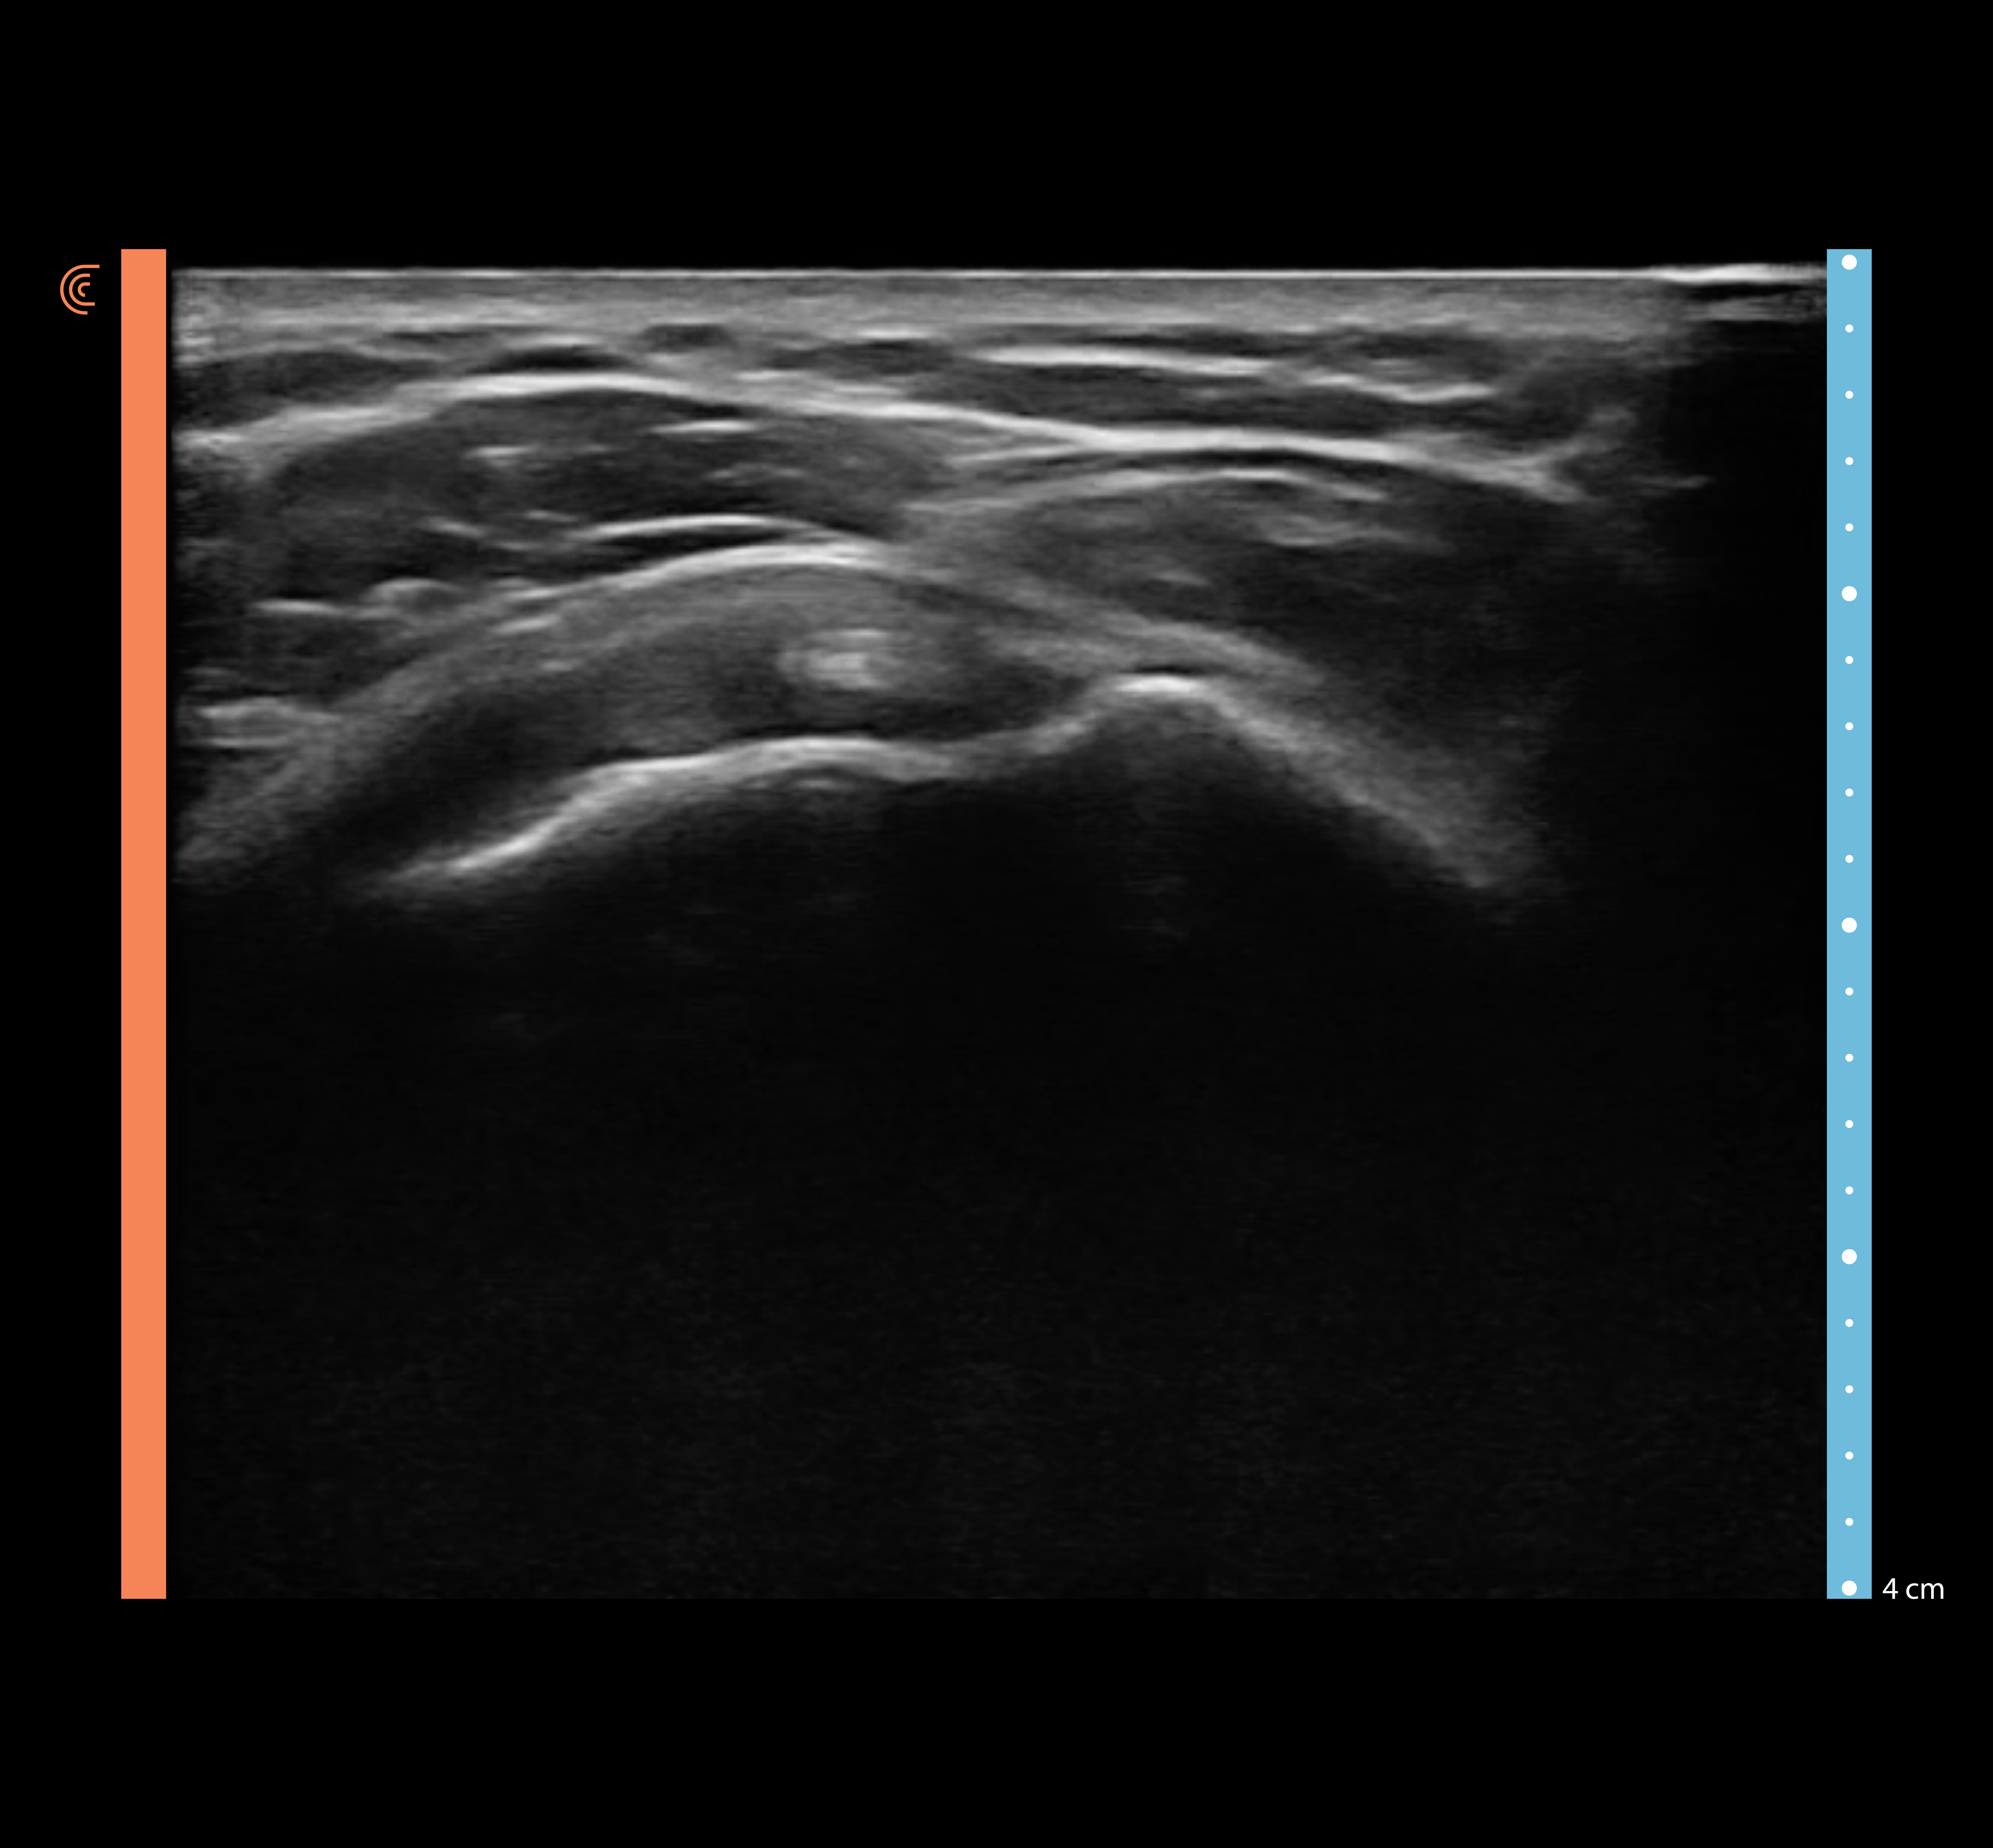
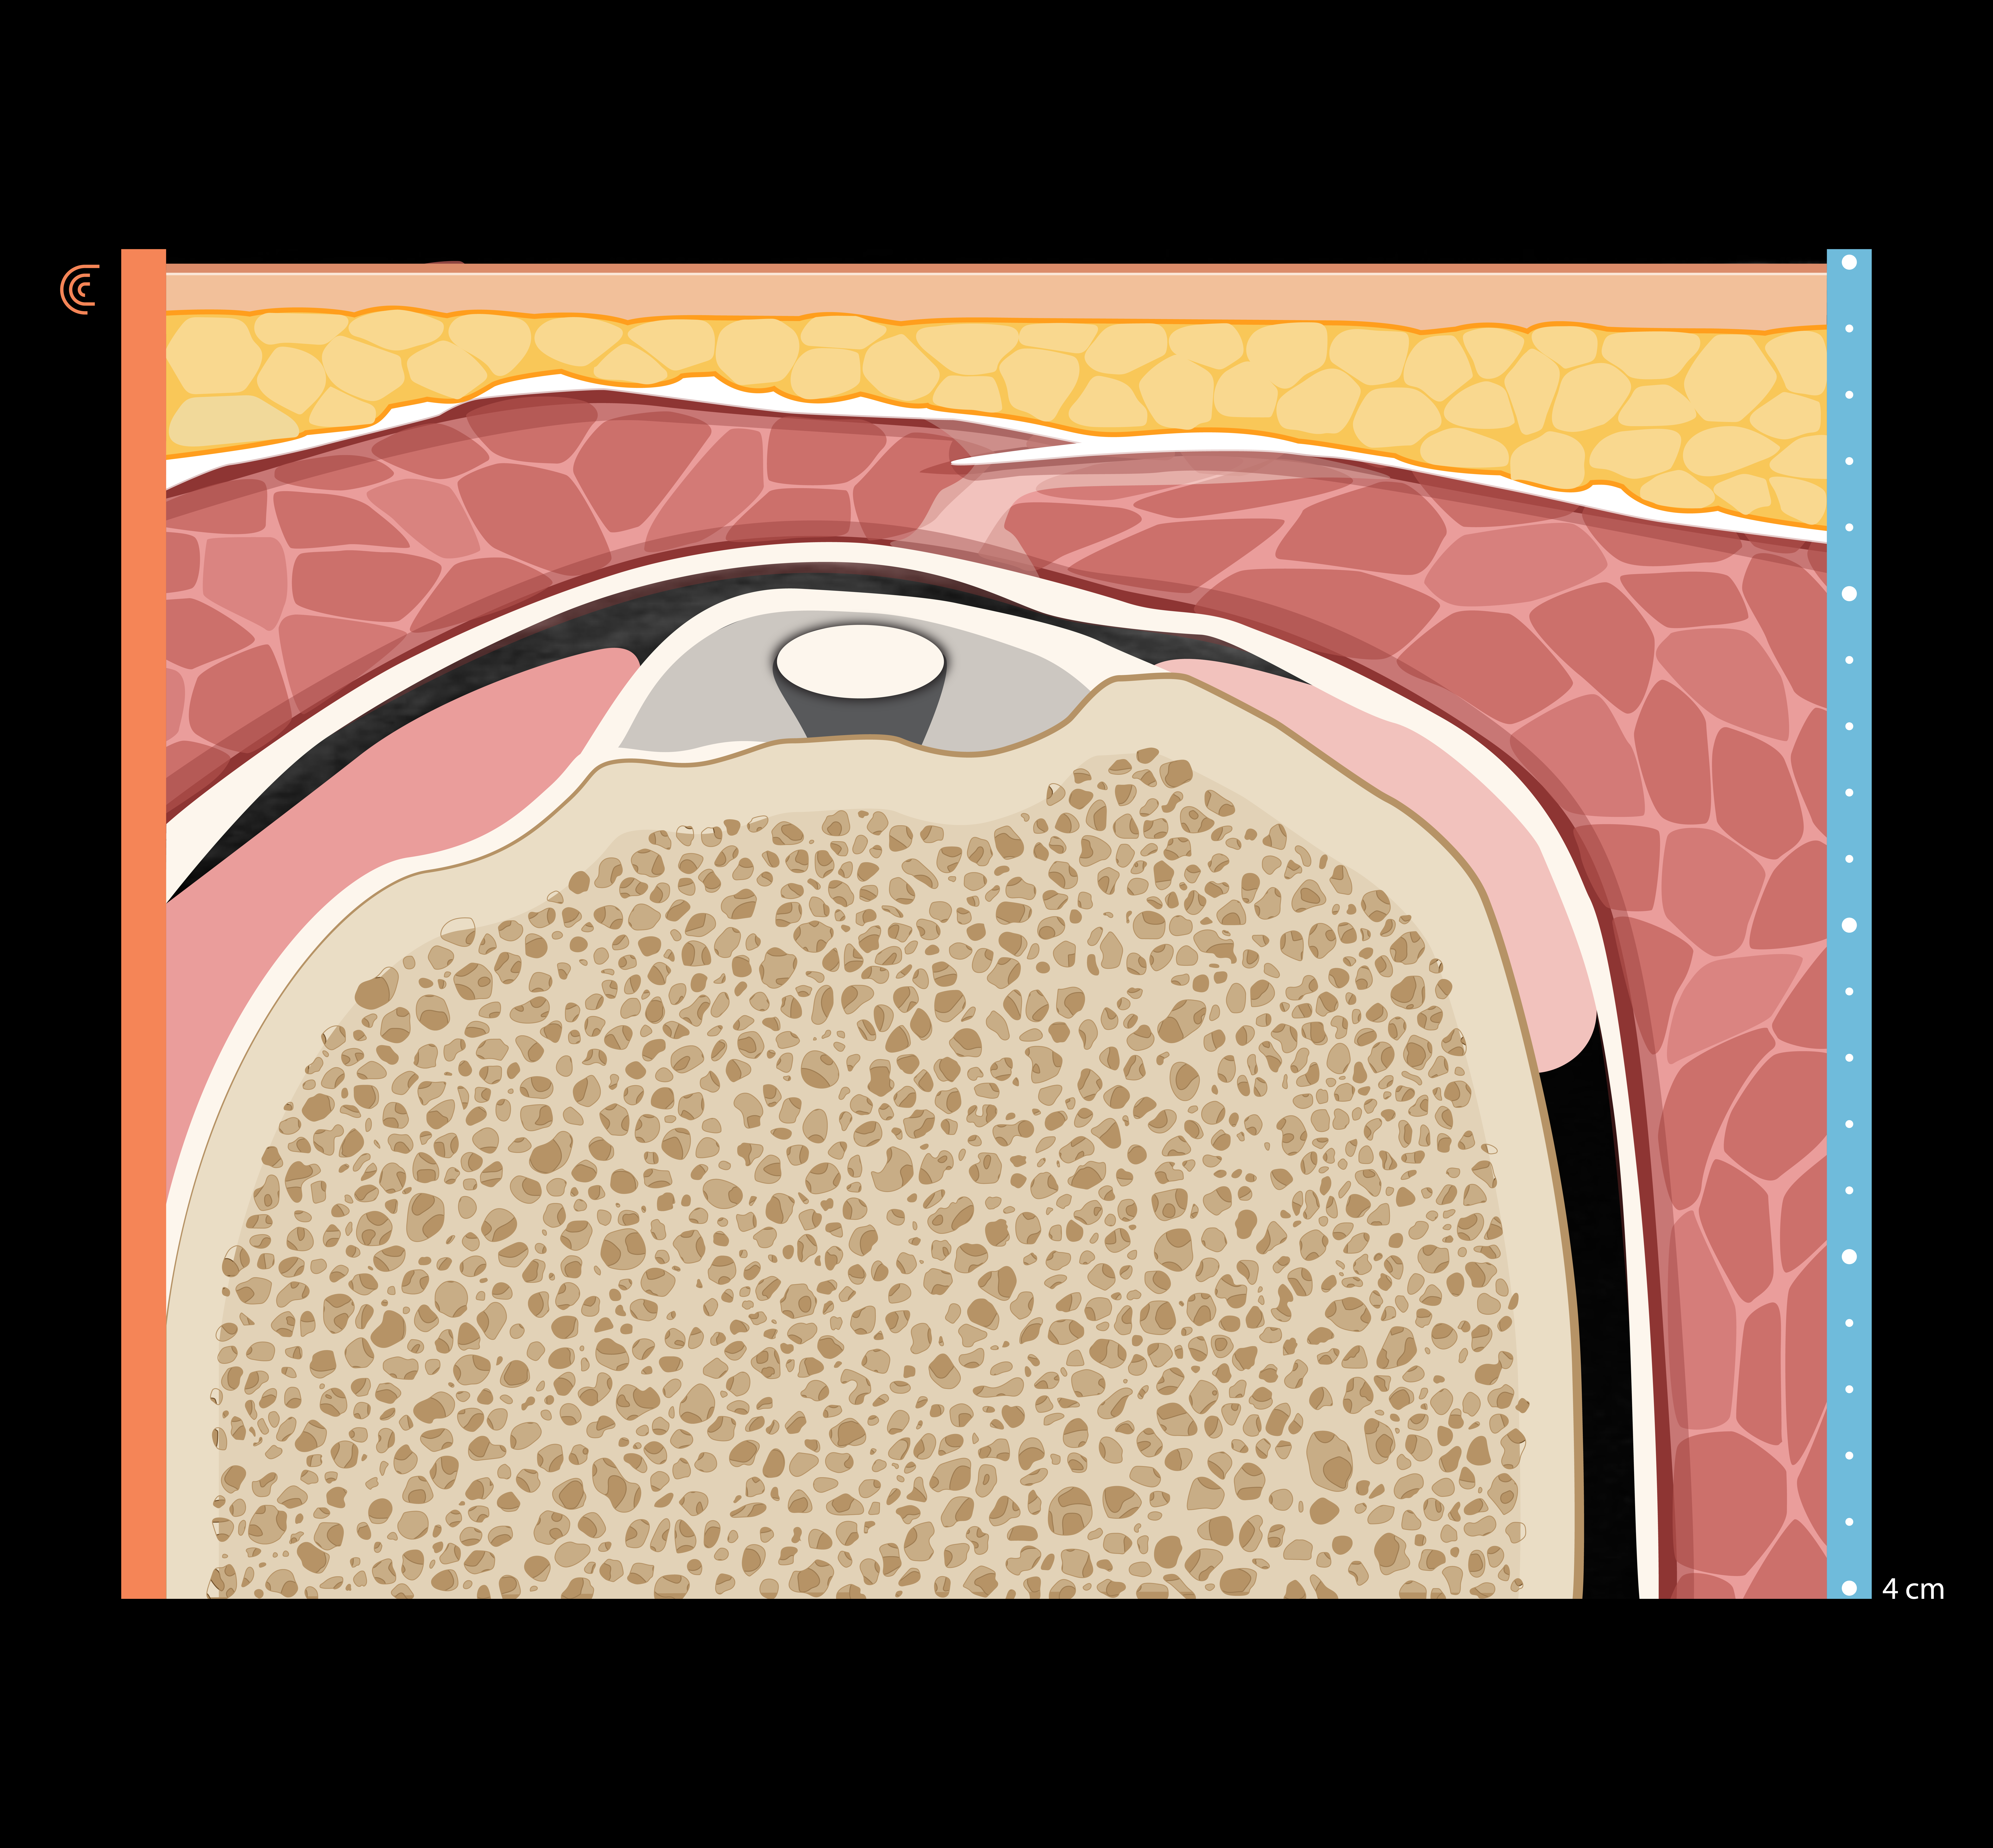
On the anterior shoulder, place the probe approximately two finger widths below the acromioclavicular joint, and then, using the greater and lesser tubercle as surface landmarks, identify the bicipital groove. The long head of the biceps tendon travels in this groove and should appear as a hyperechoic circle/oval.
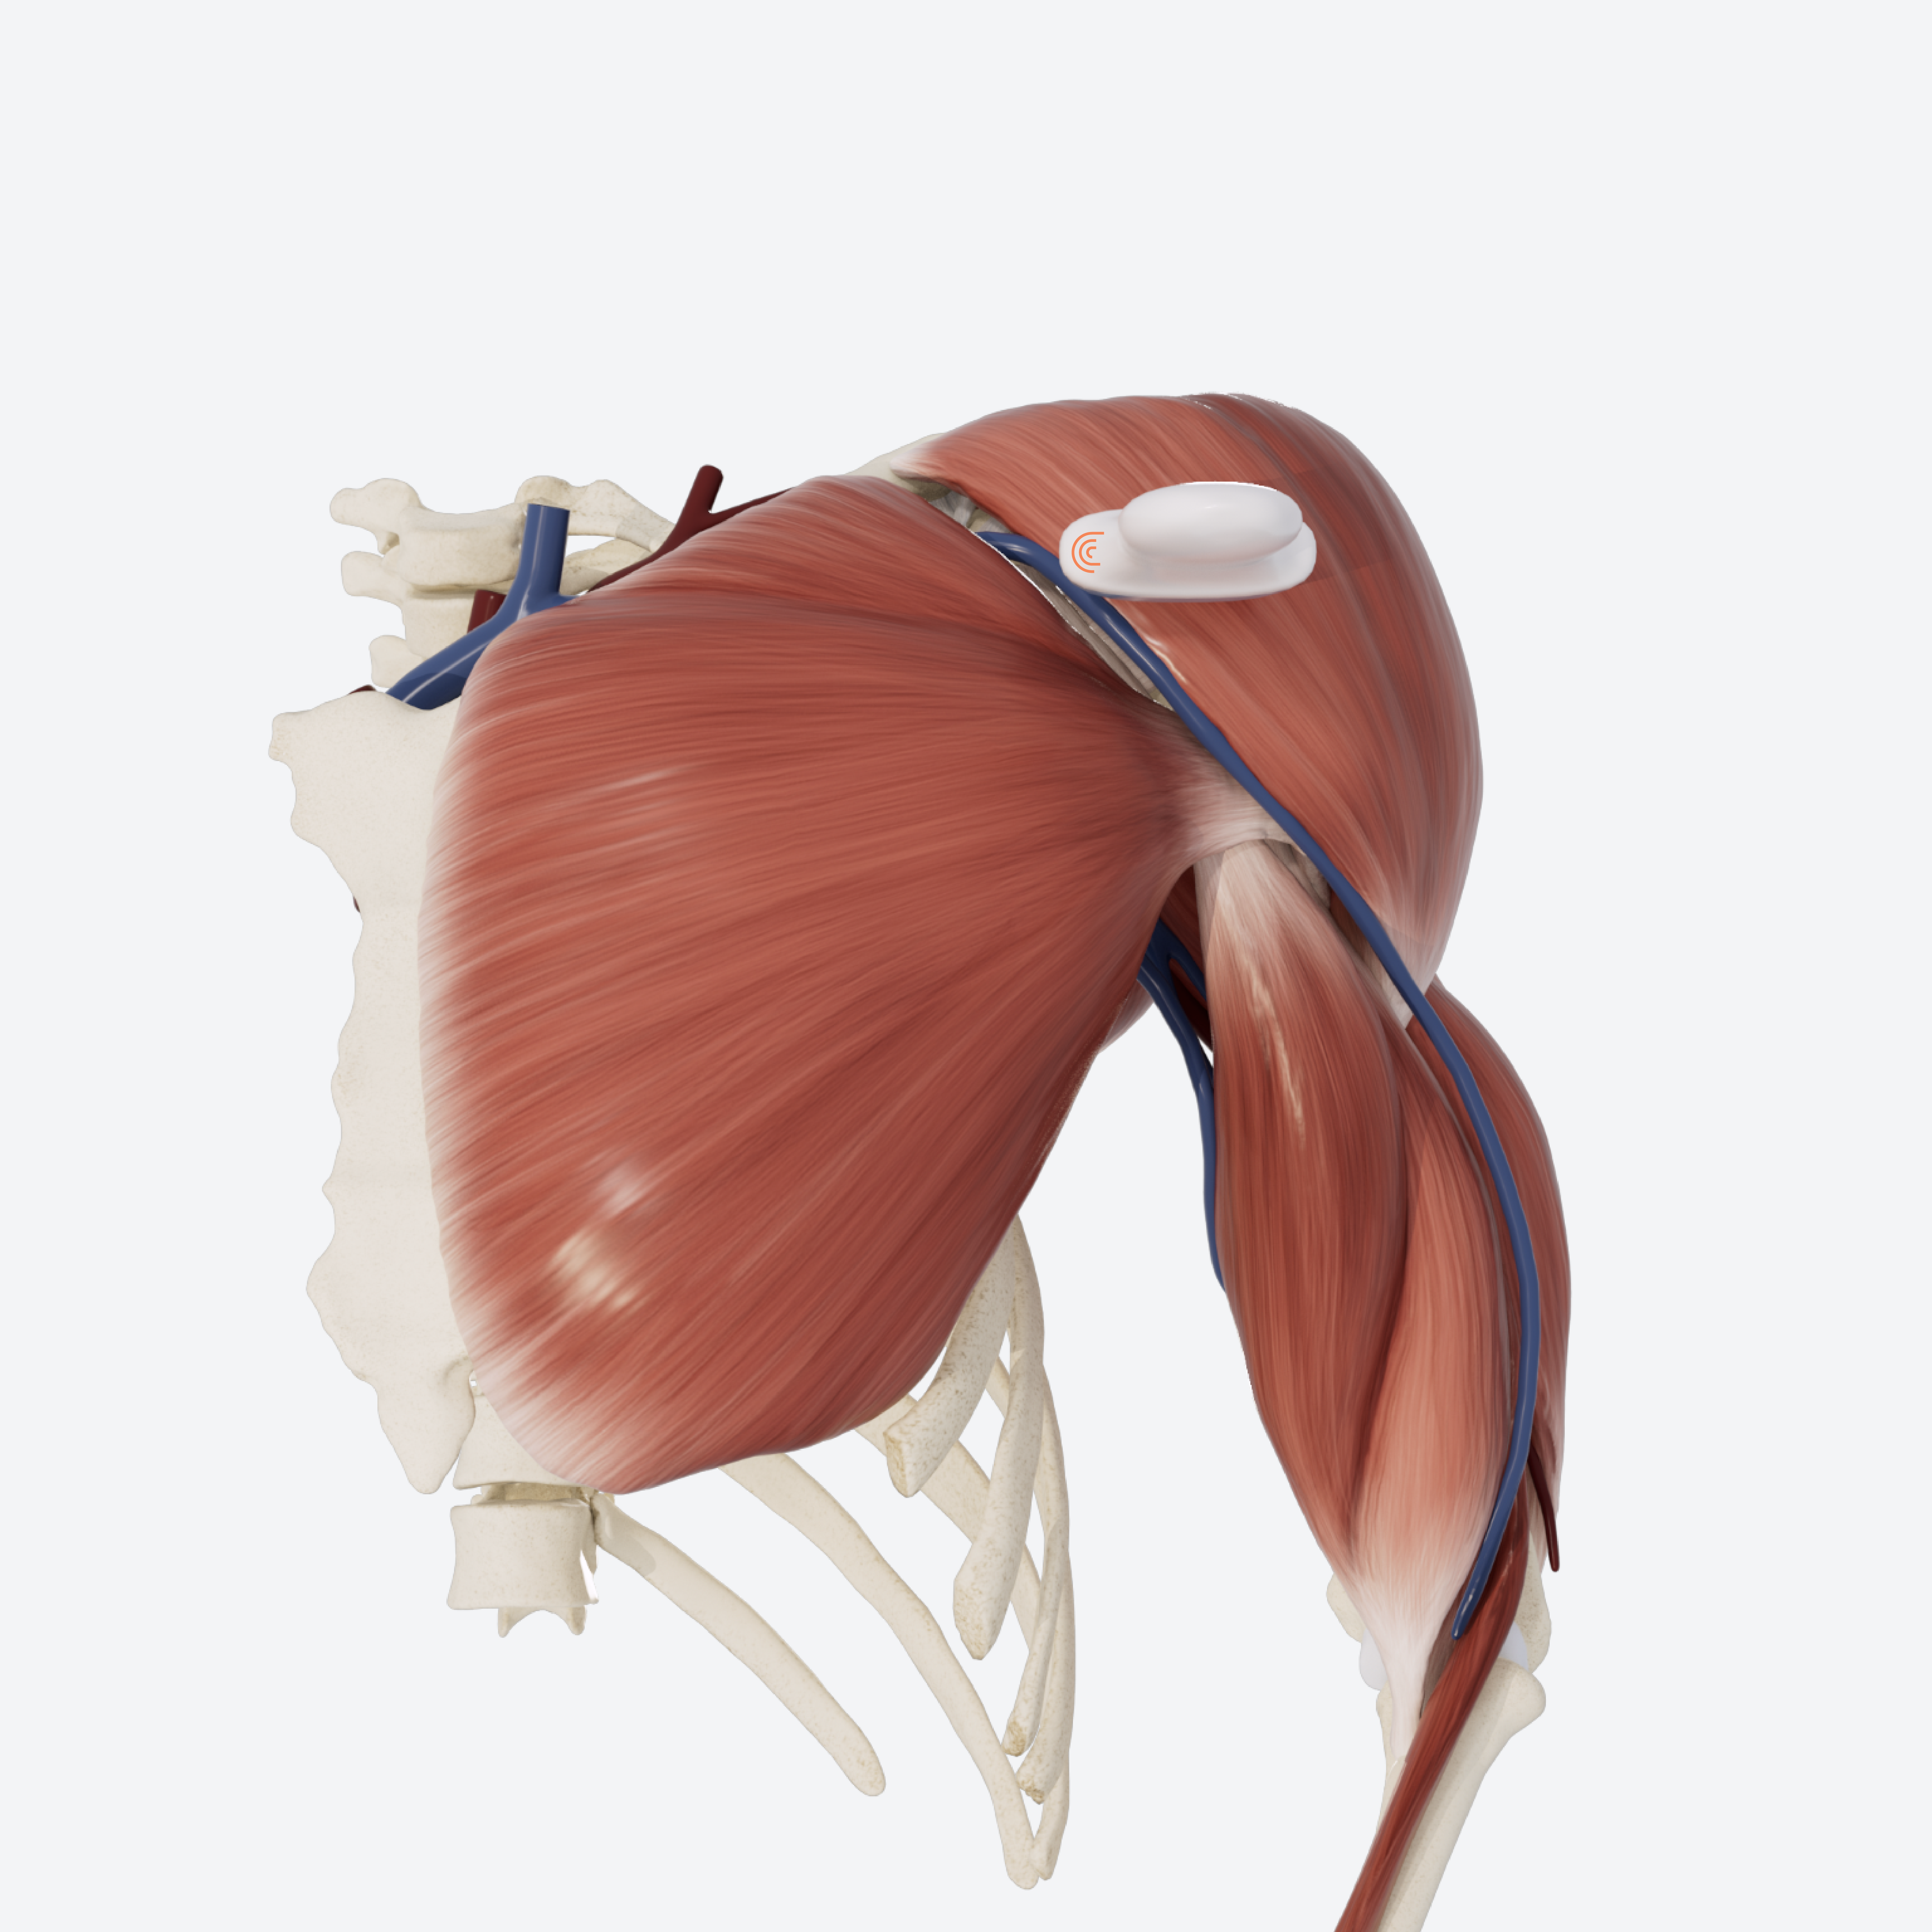
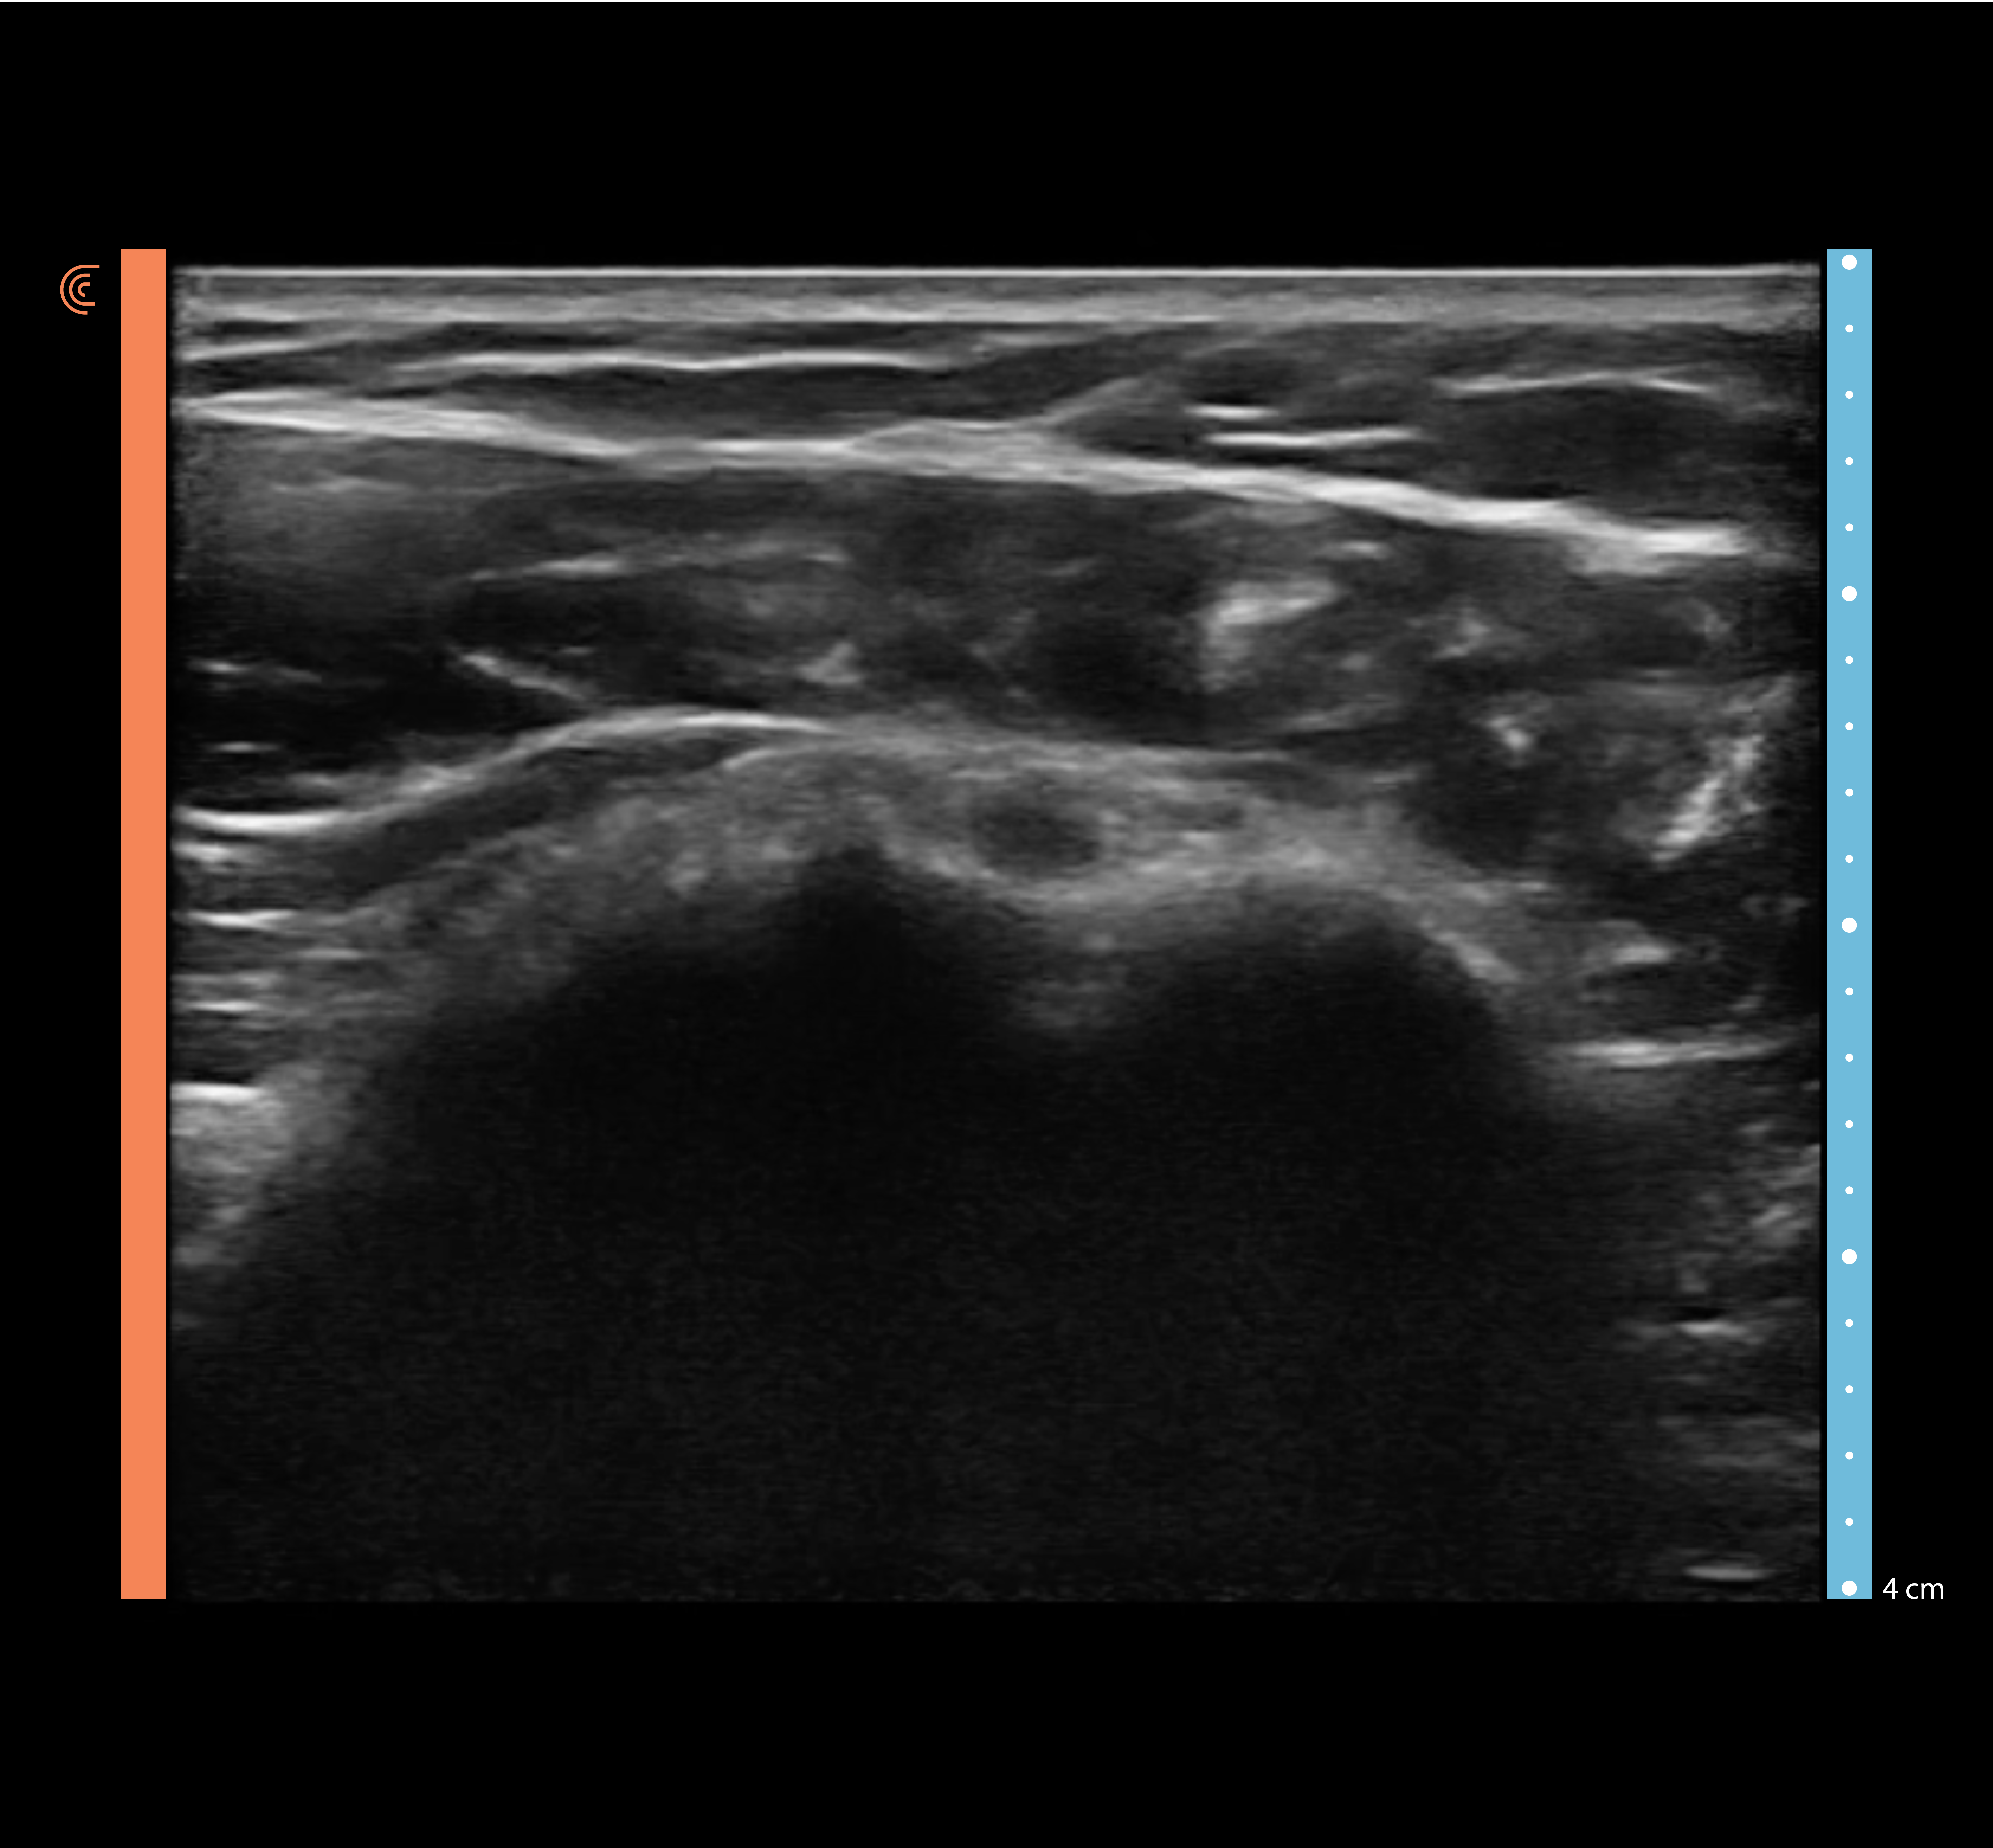
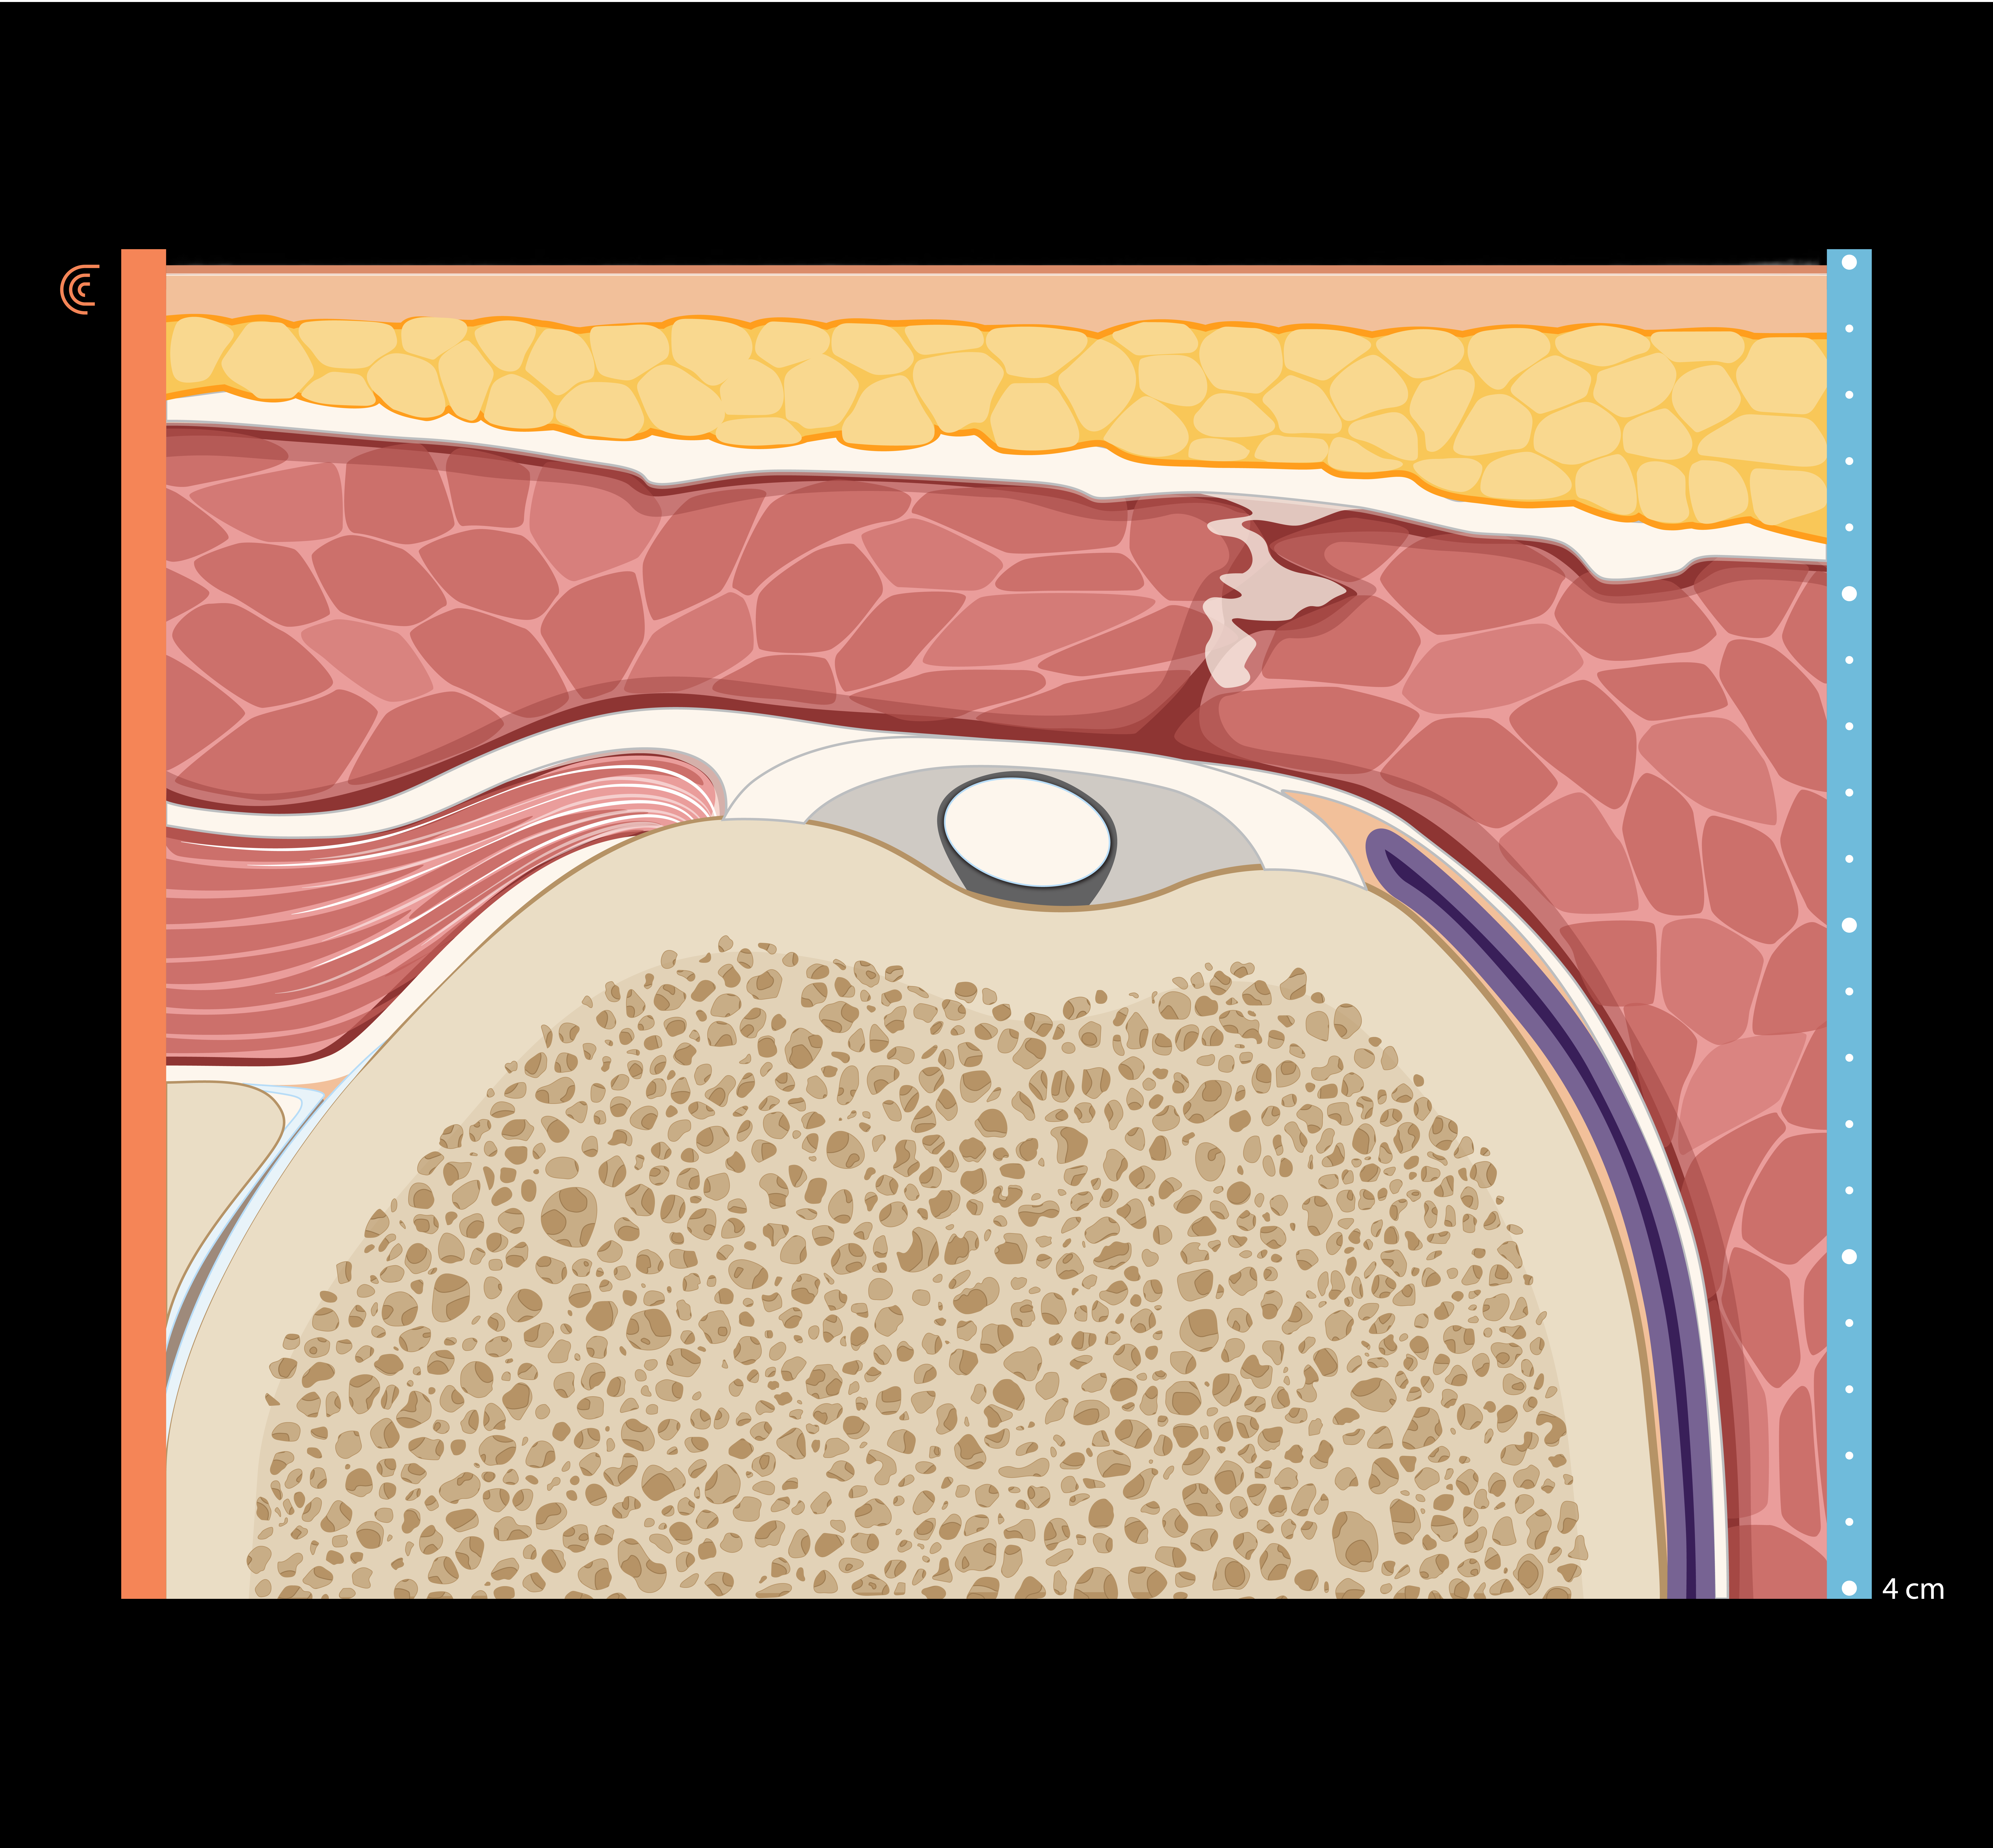
STEP 2 Biceps Tendon at Intraarticular Attachment
From the transverse view of the bicipital groove and tendon of the long head of biceps brachii (short axis), track the tendon upwards to its intraarticular origin.
STEP 3 Biceps Tendon at Myotendinous Junction
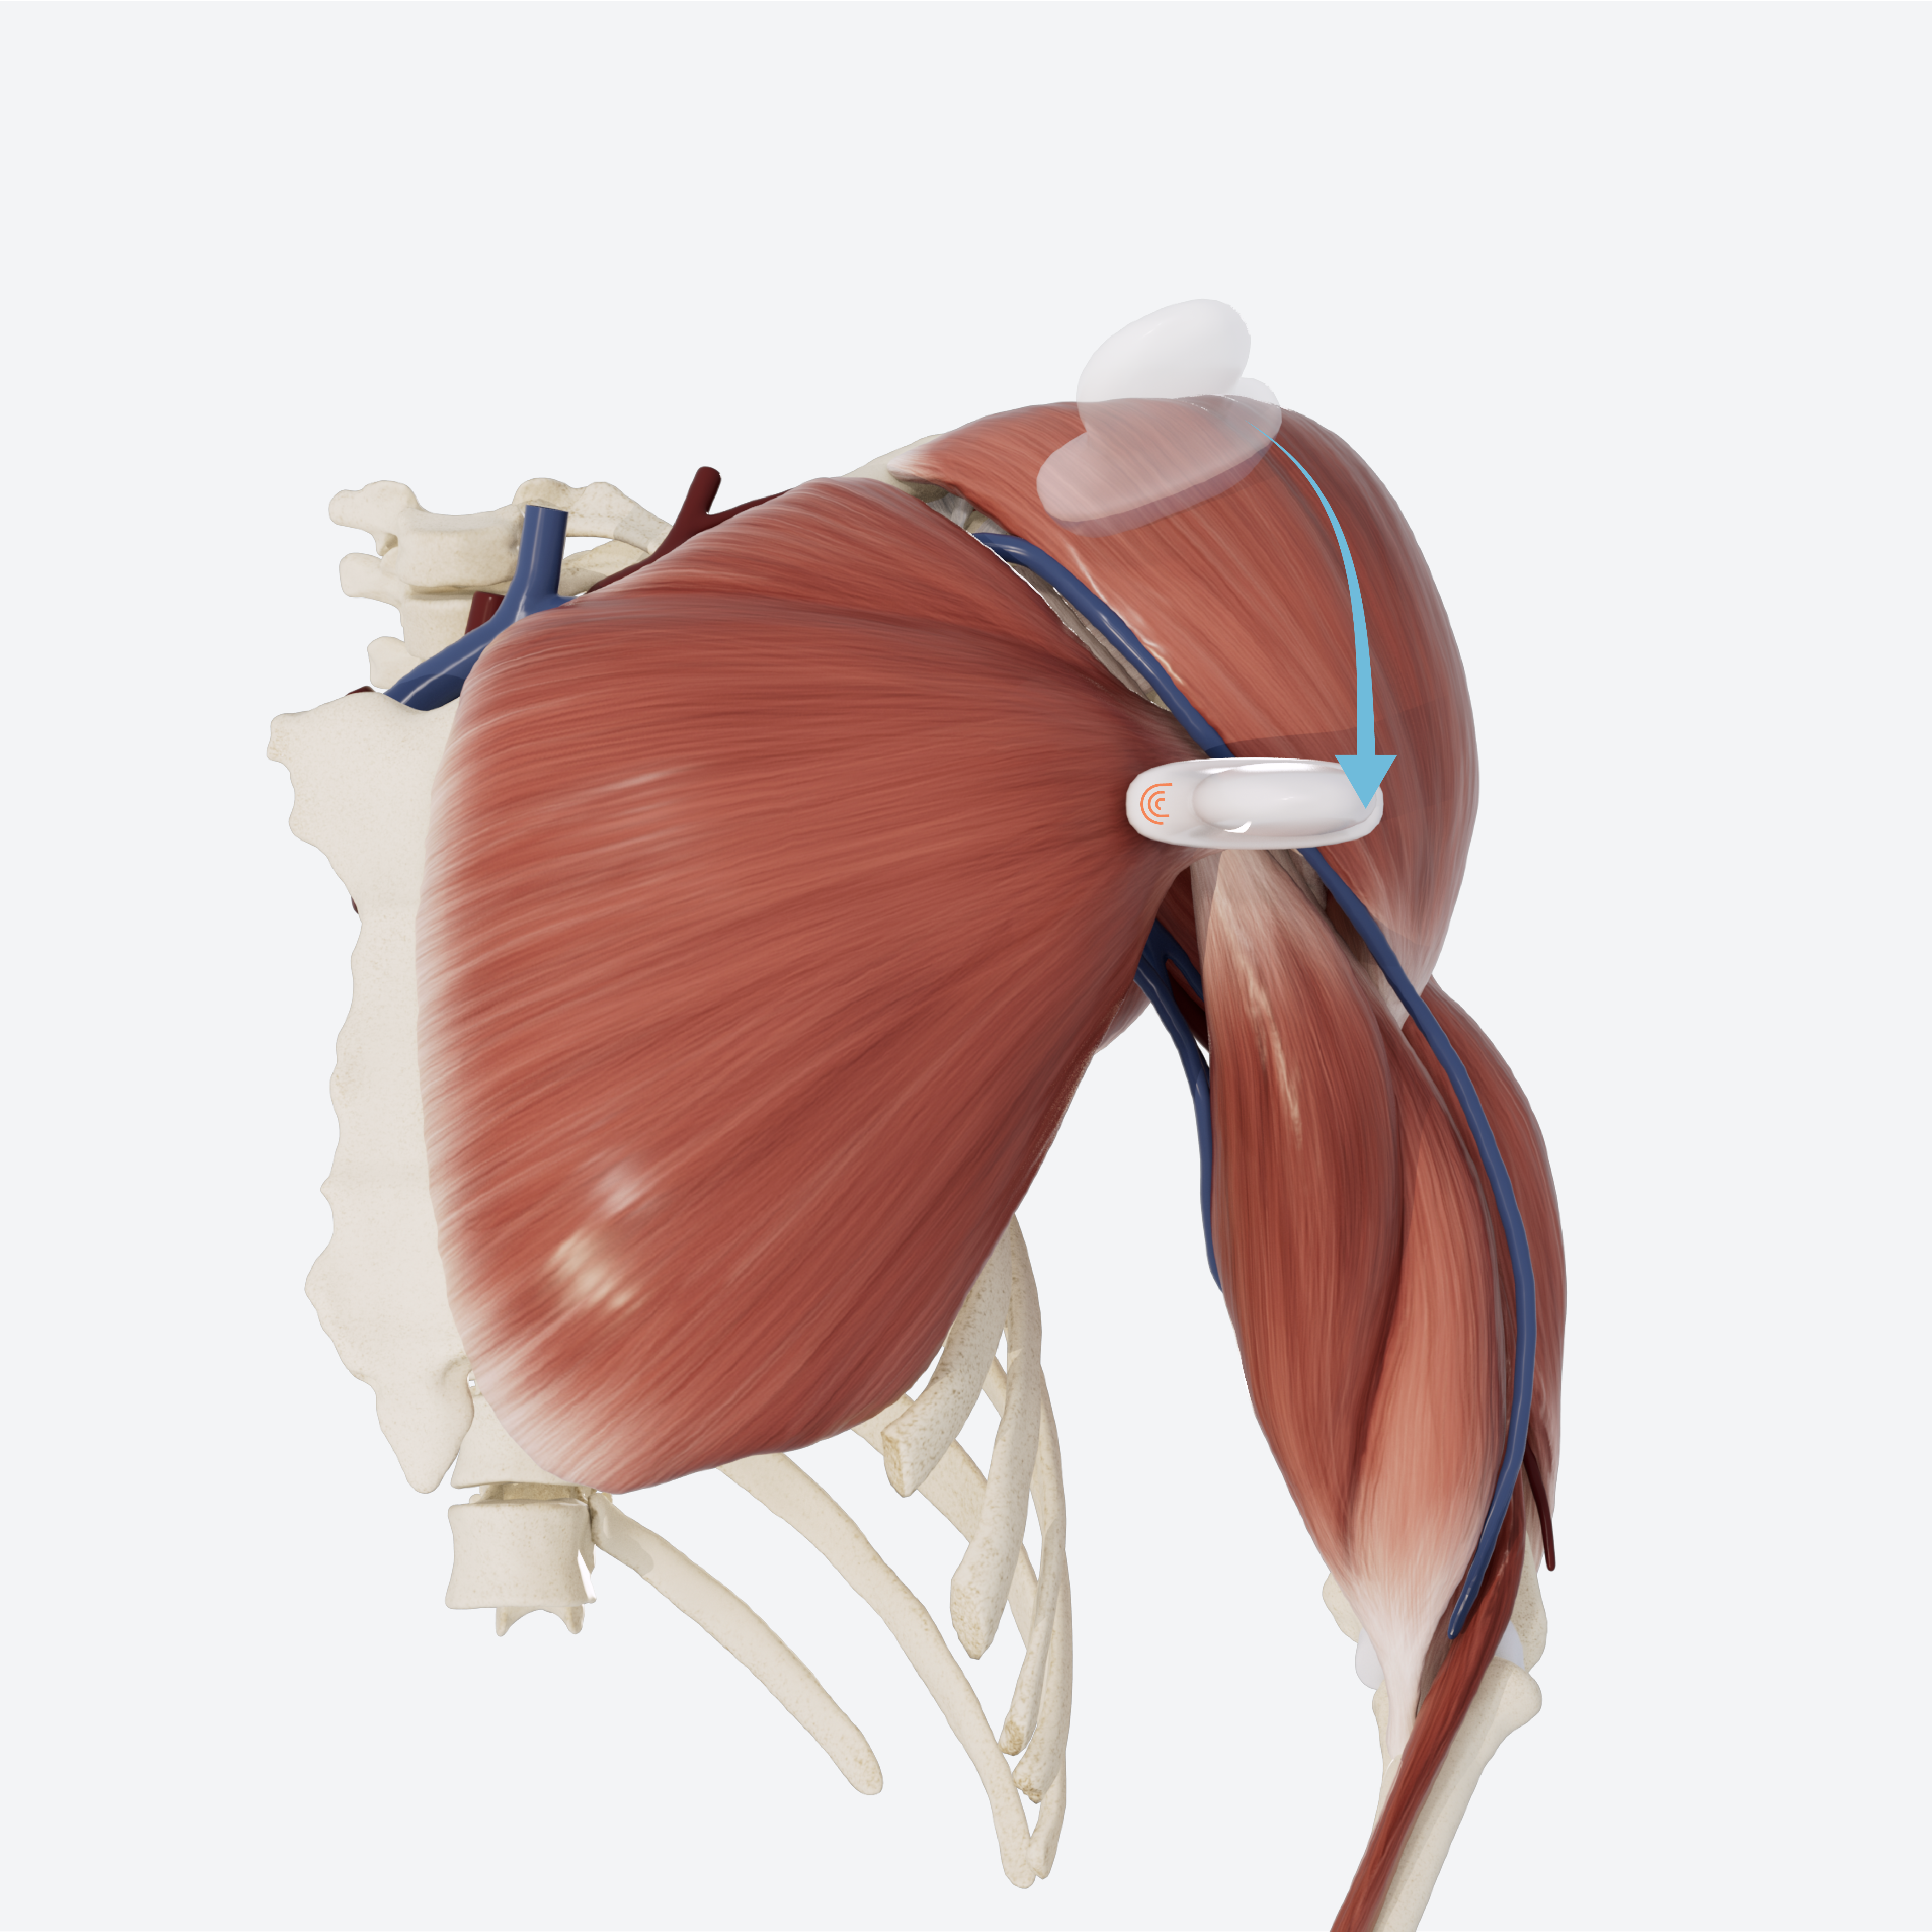
The biceps tendon can then be tracked inferiorly to the myotendinous junction at the level of pectoralis major’s insertion on the humerus.
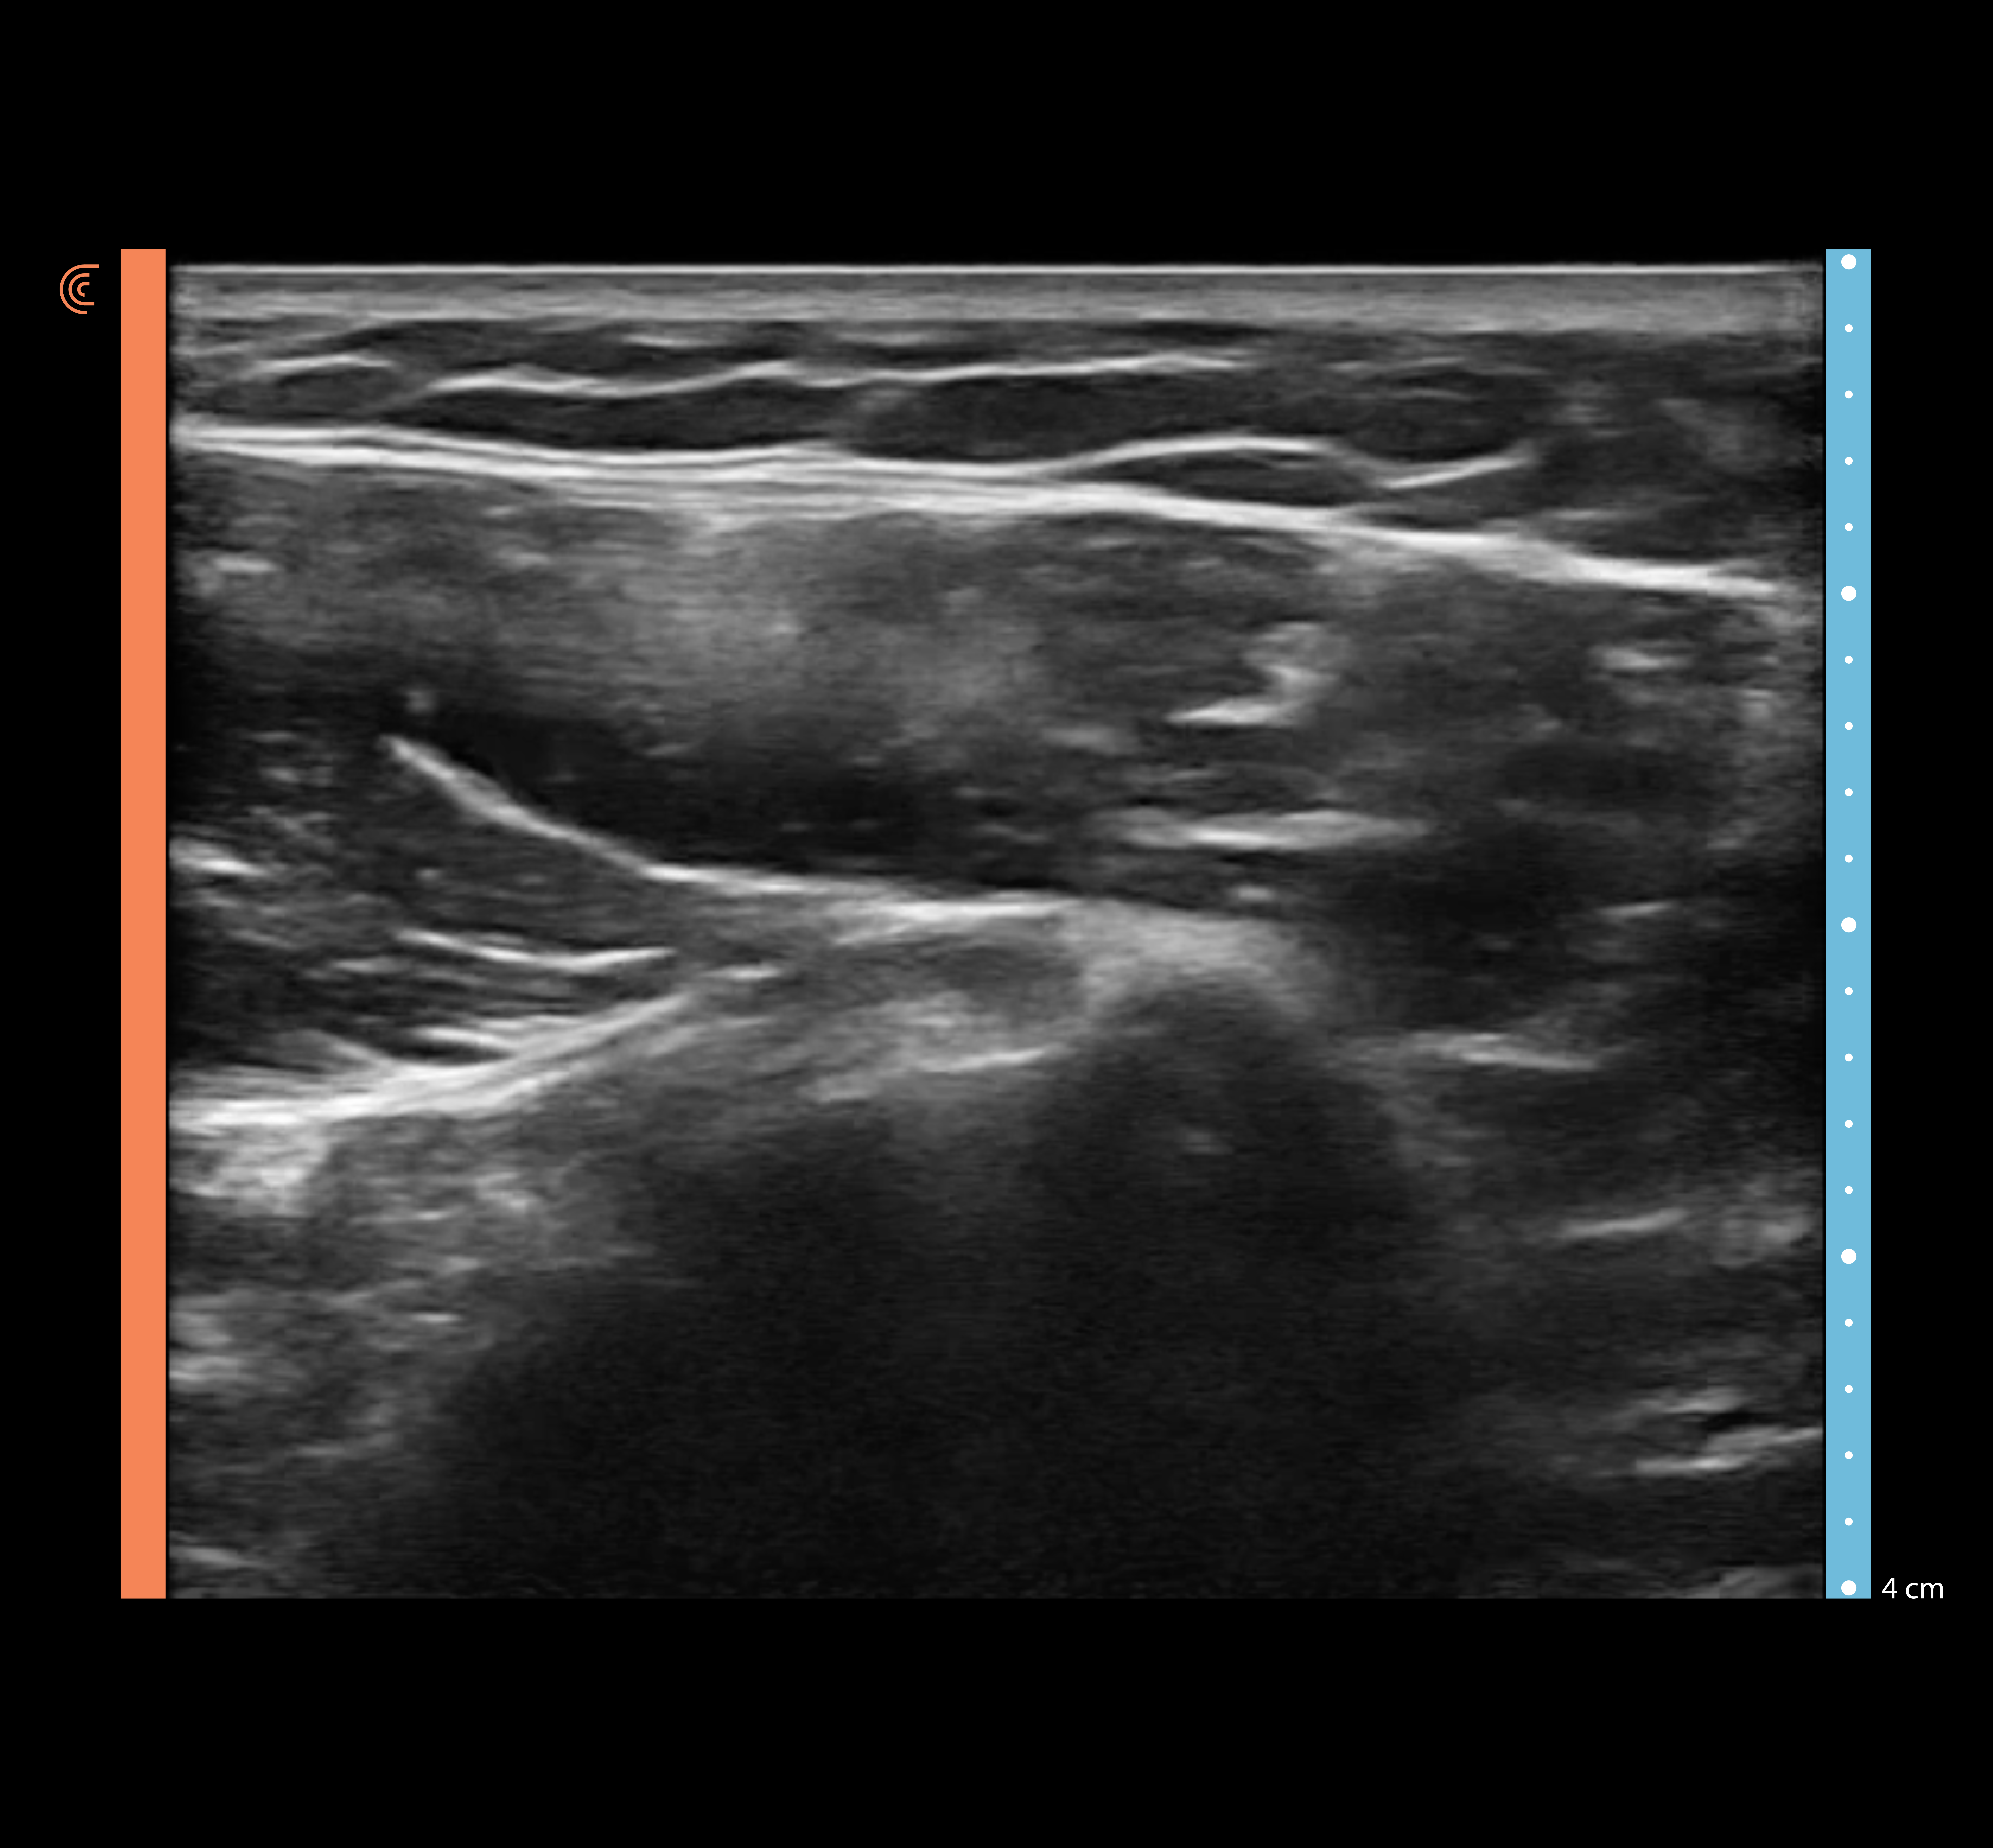
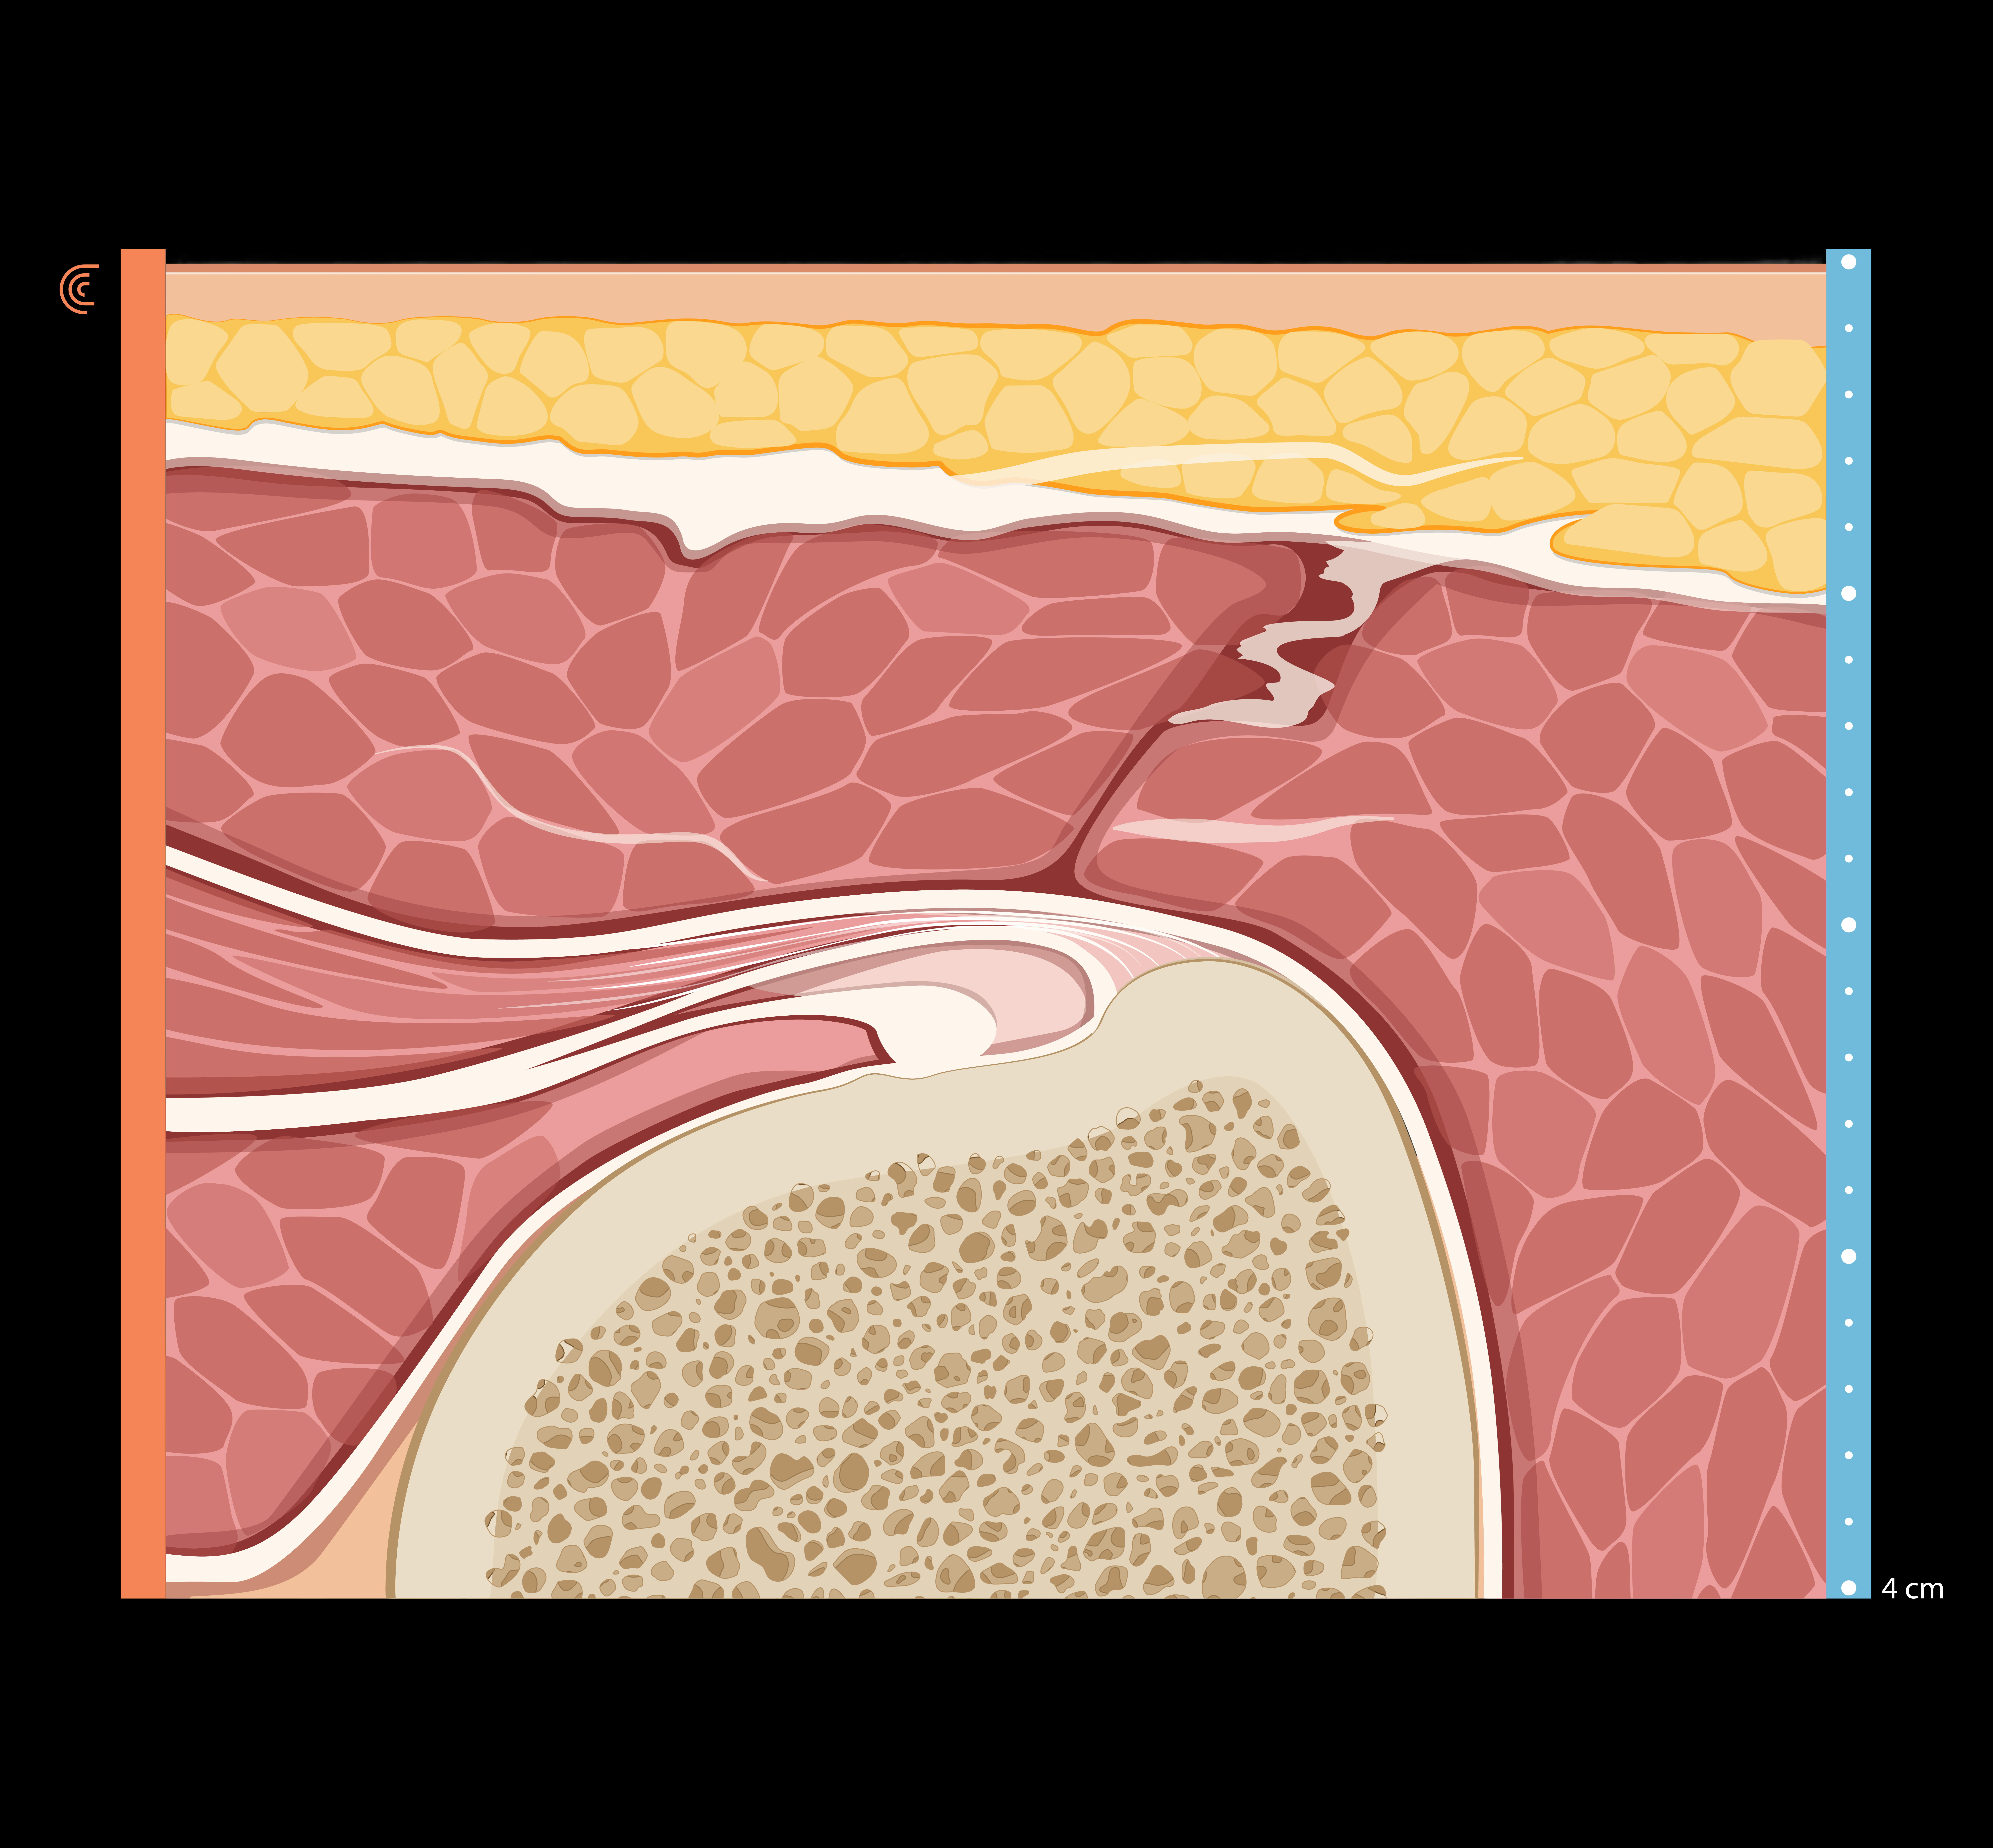
STEP 4 Biceps Tendon in Bicipital Groove: Long Axis
Rotate the probe 90 degrees to examine the tendon in longitudinal view.
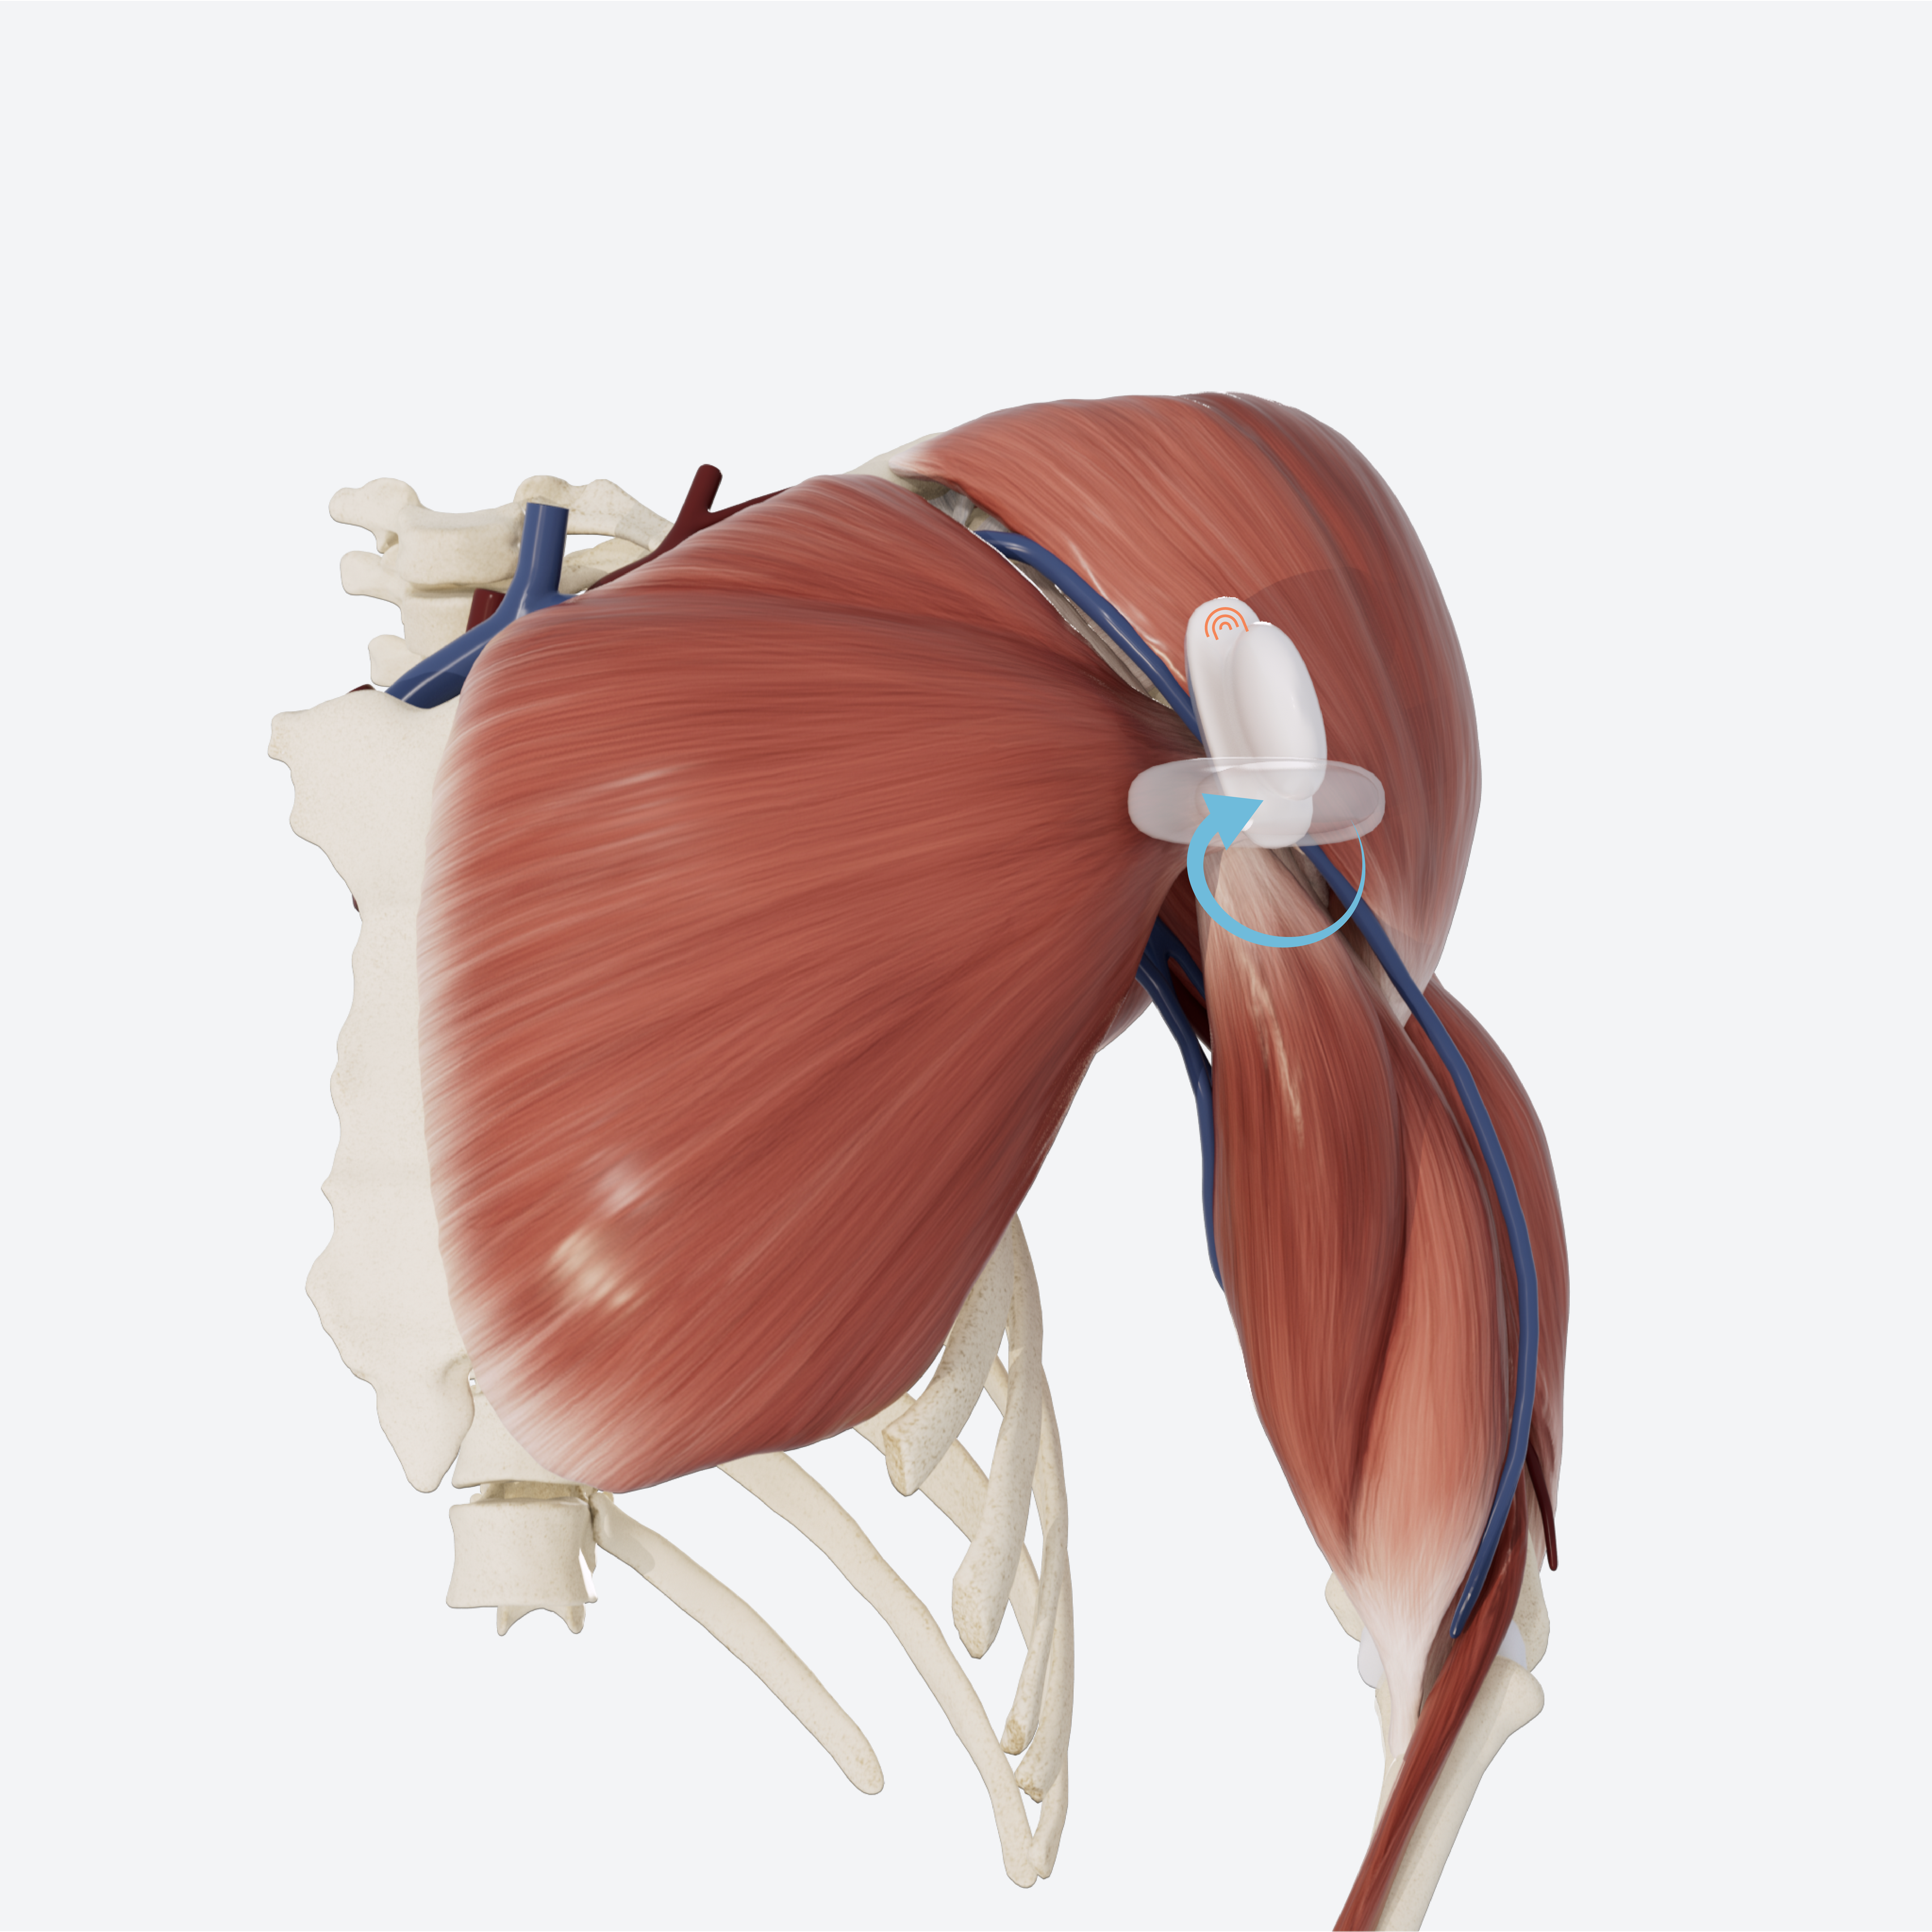
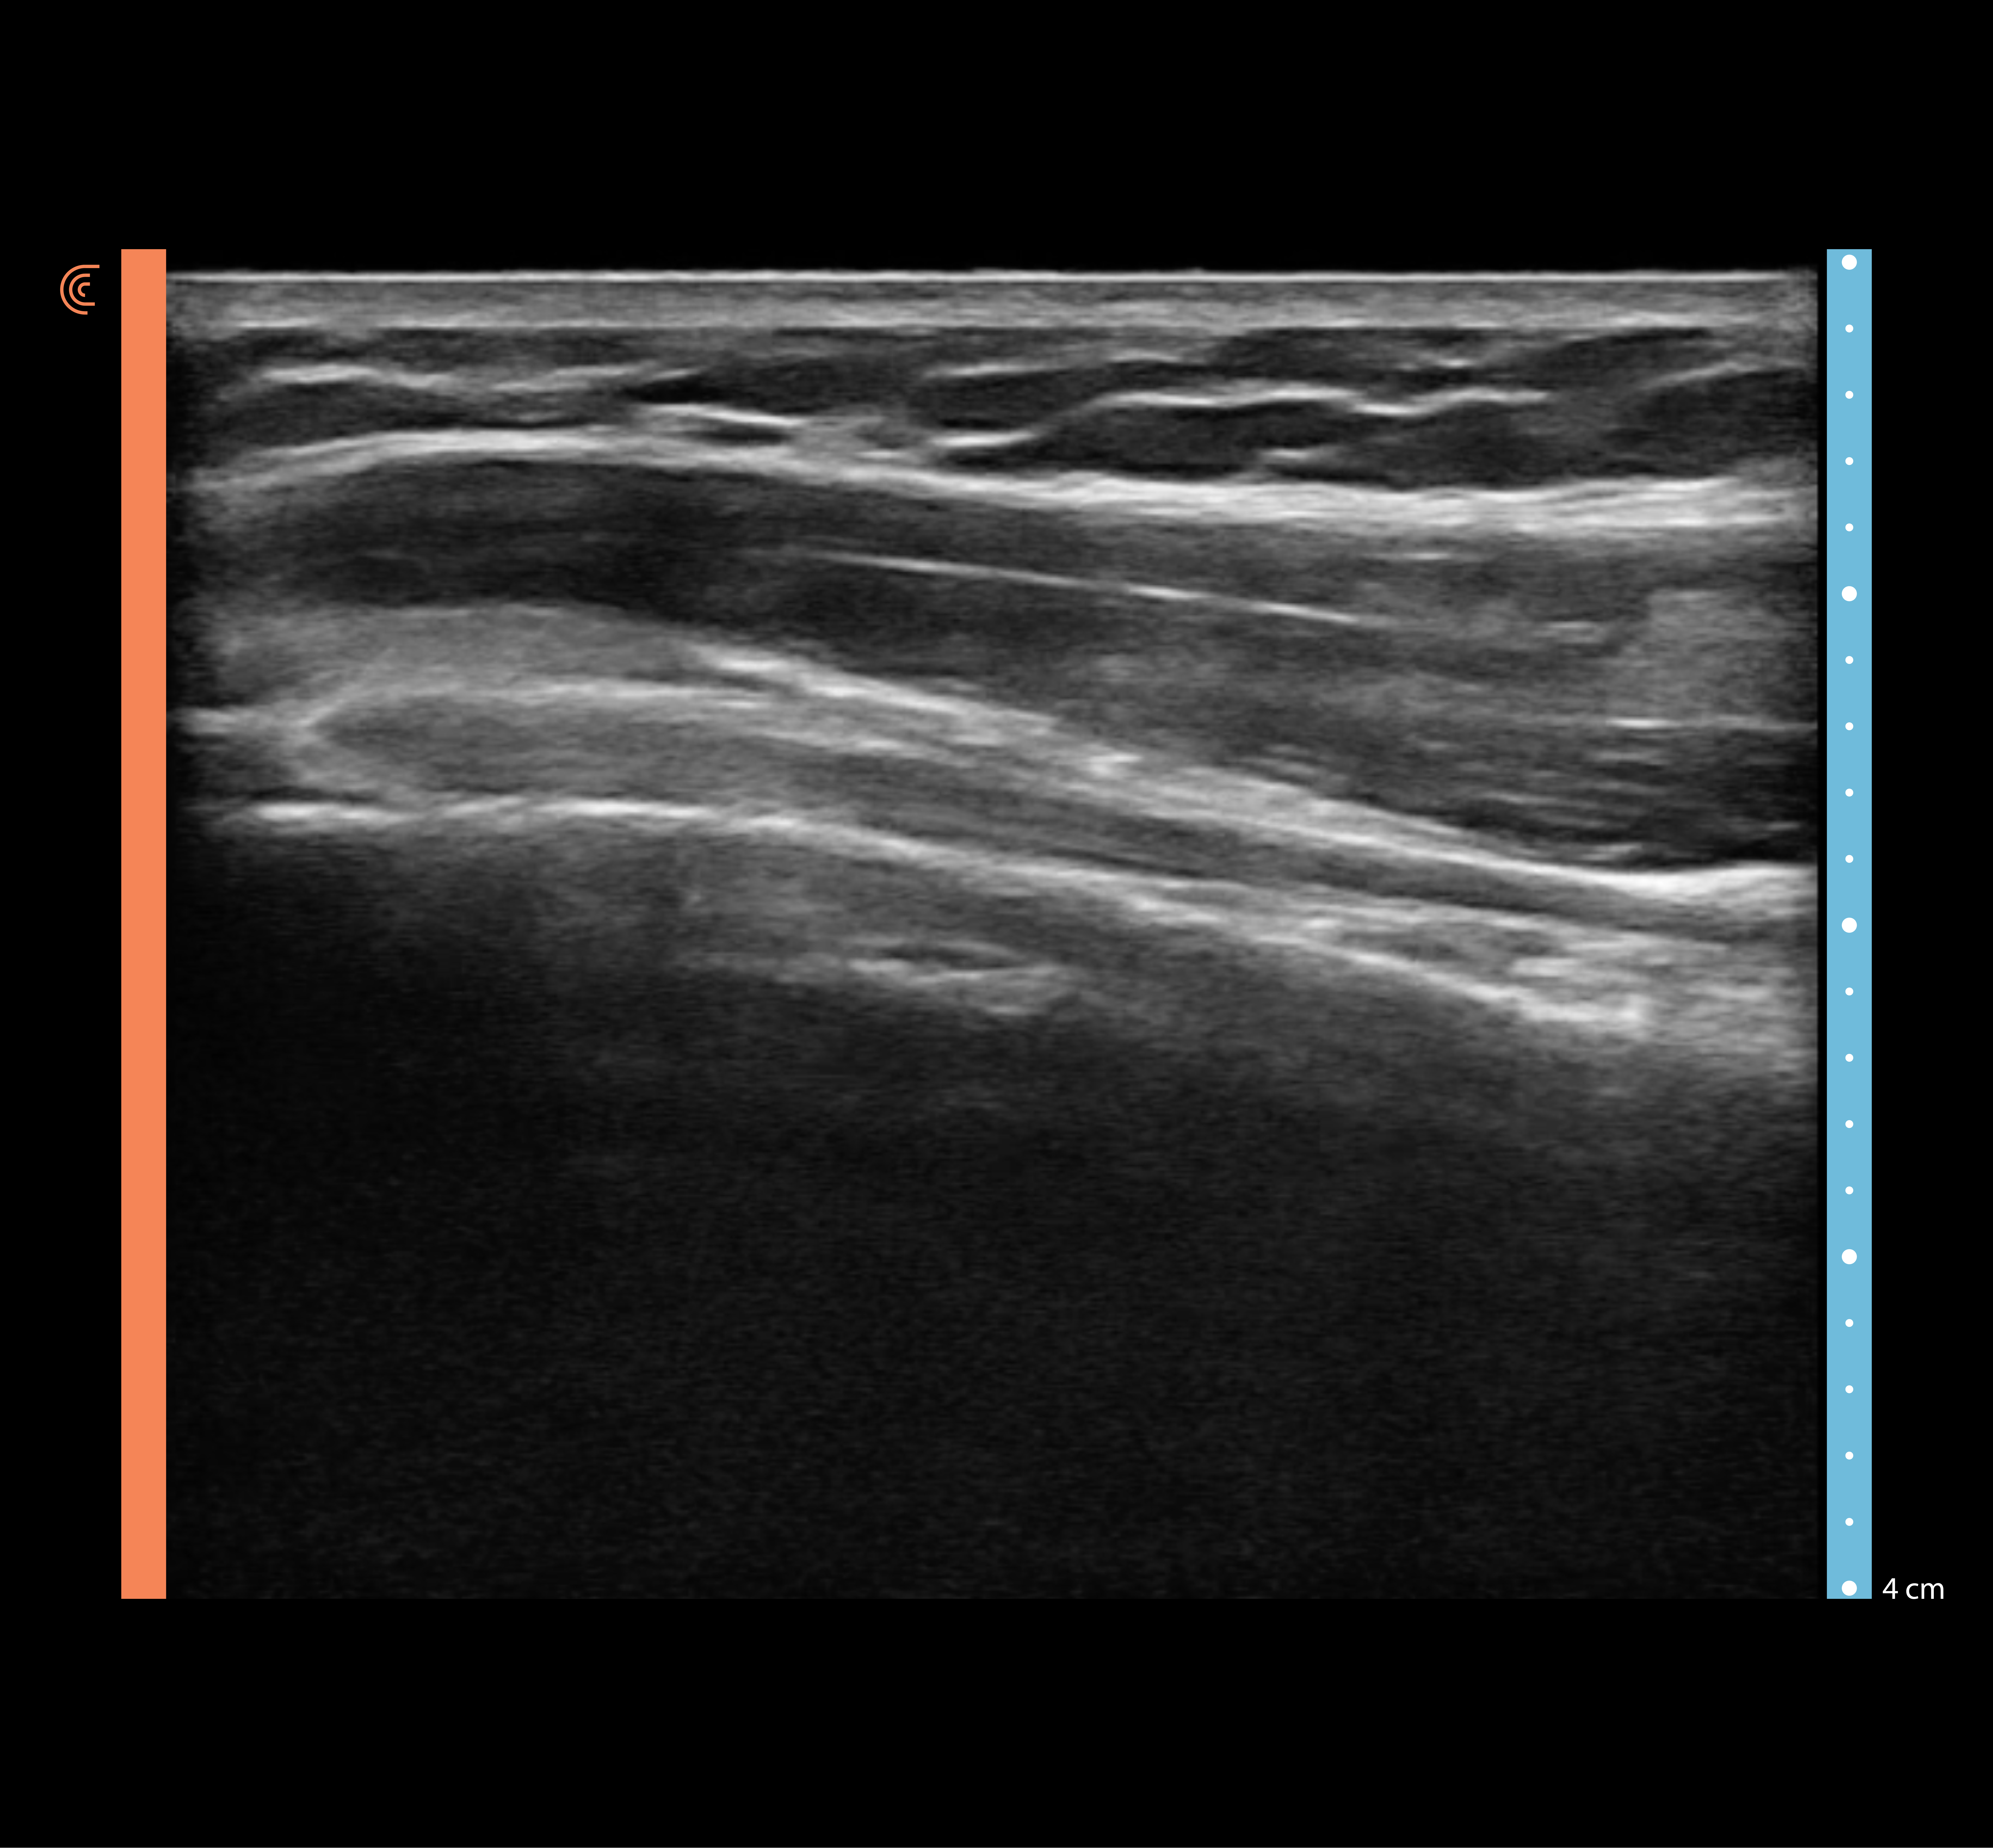
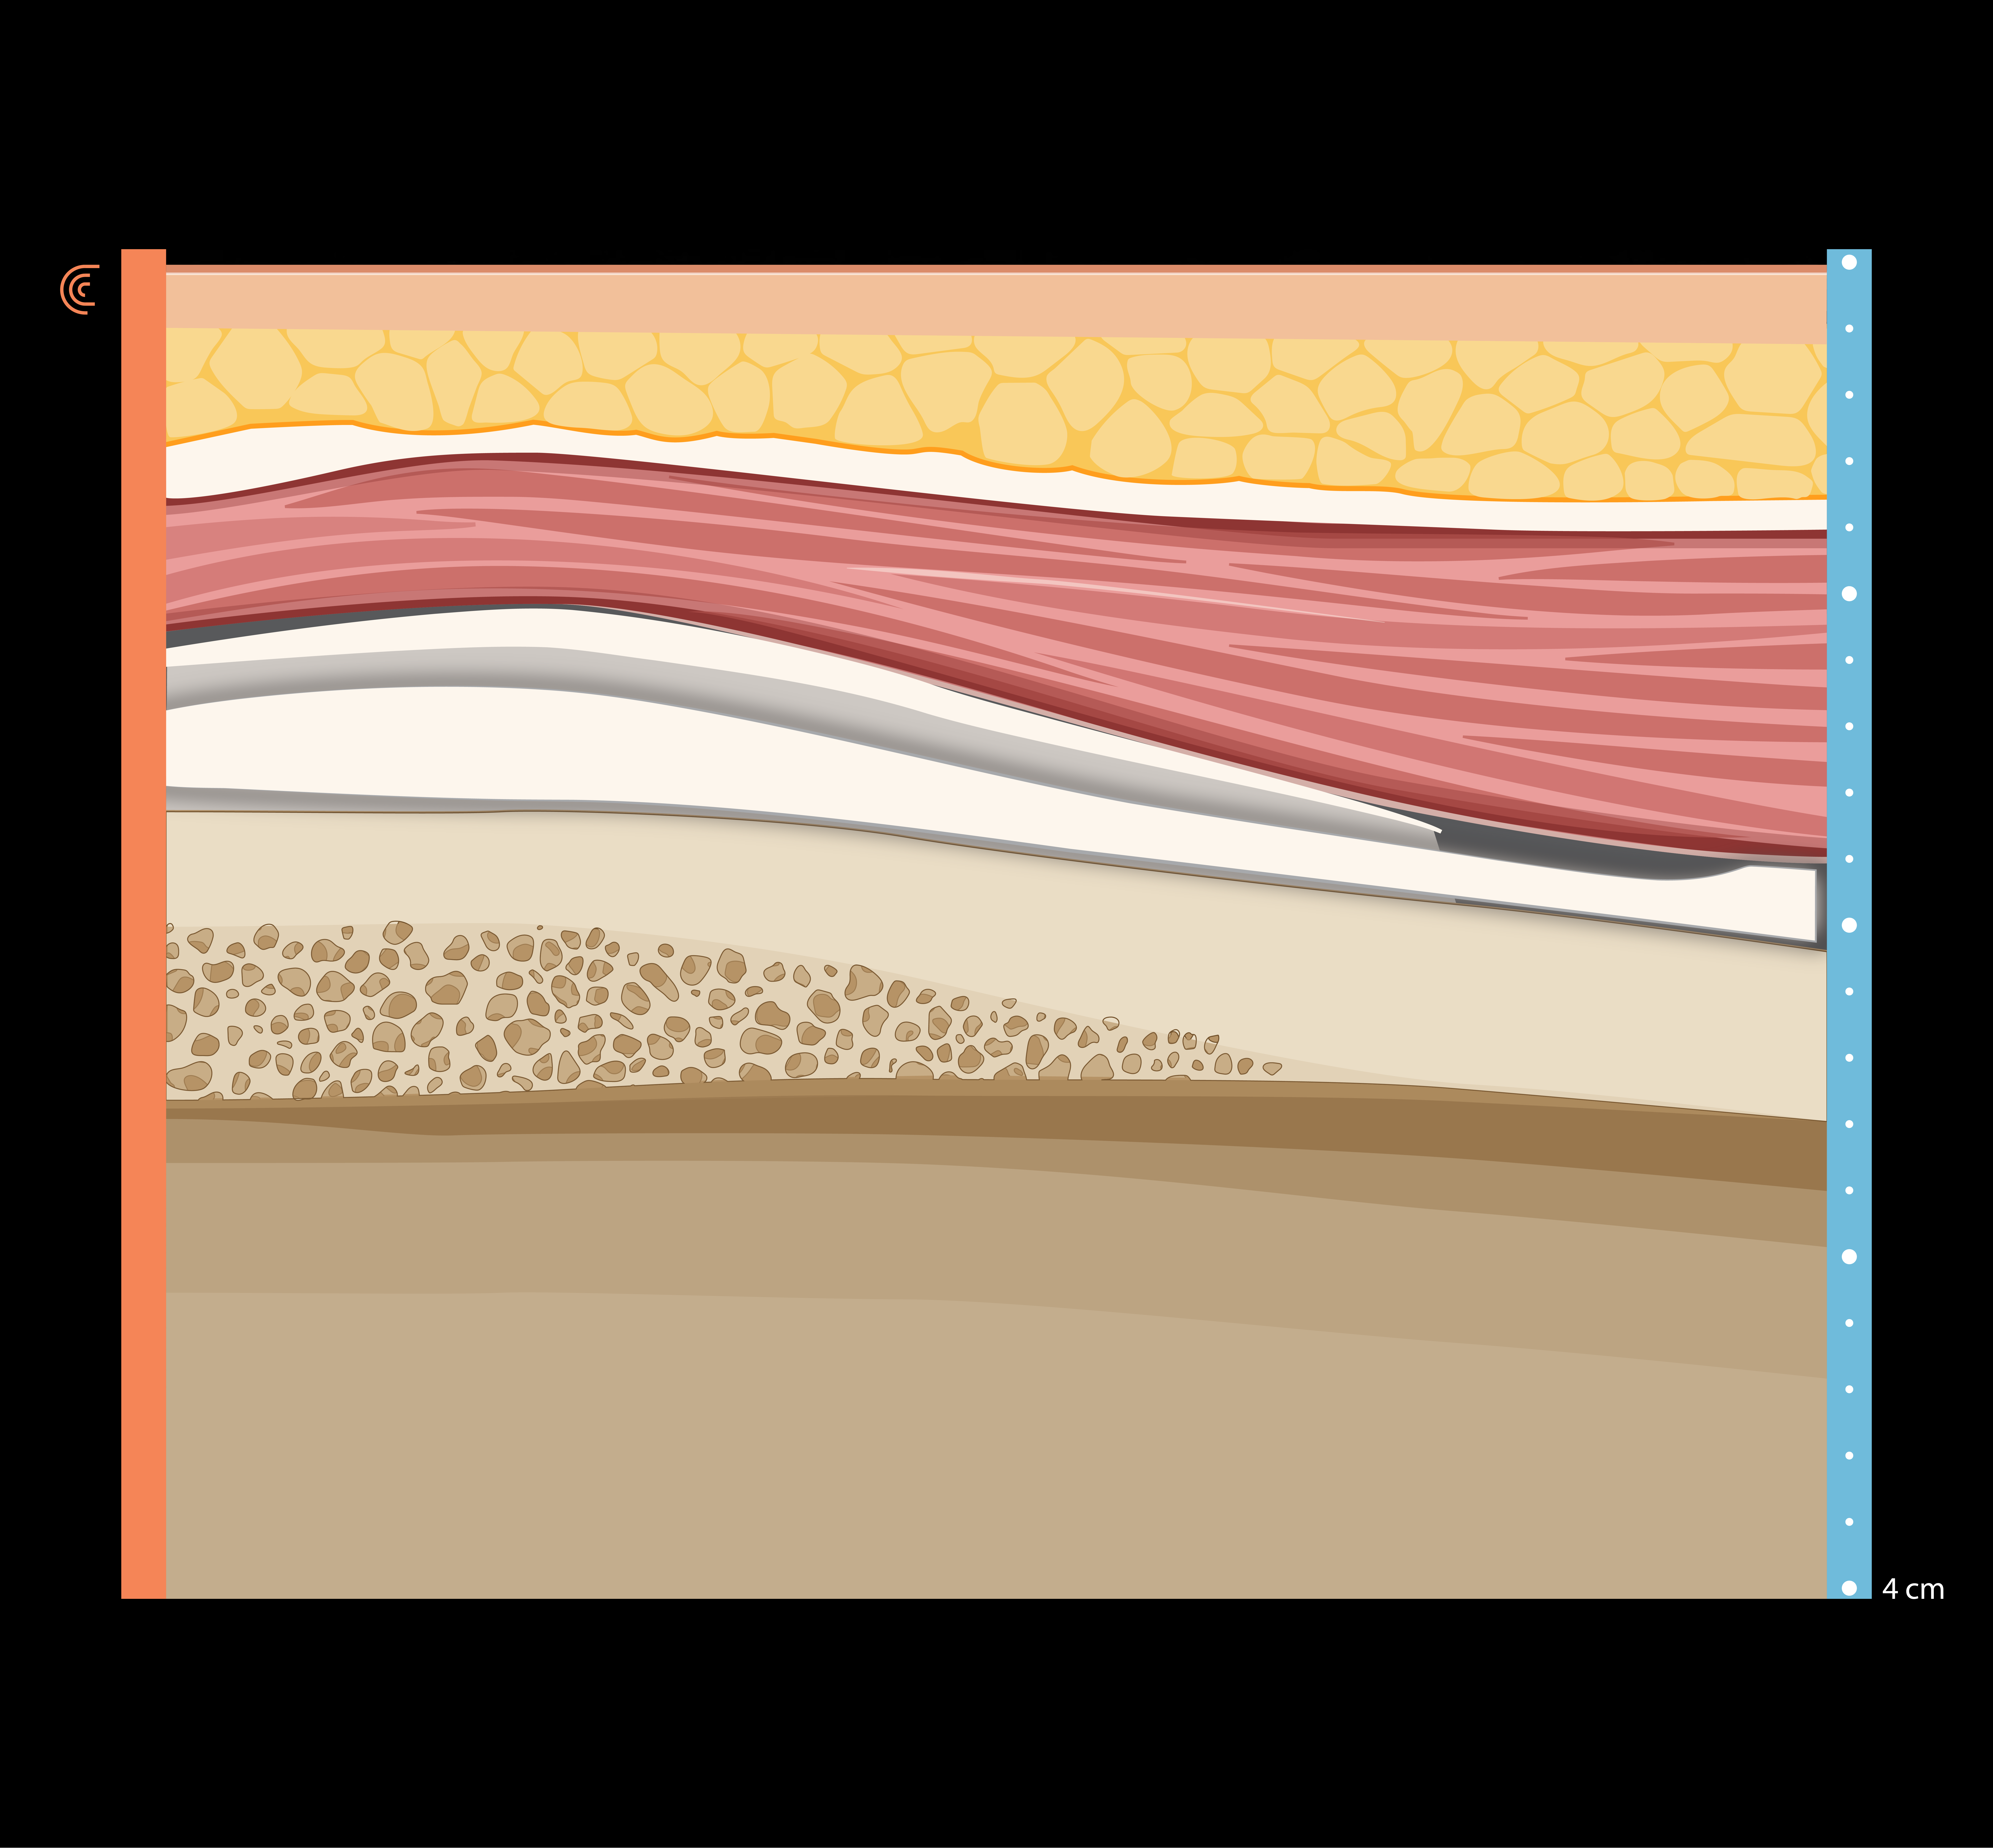
REVIEW Anterior Transverse: Biceps Tendon
Use the slider to review the dynamic US technique shown through steps 1-4 to visualize the entire biceps tendon.
